Wednesday 29 April 2020

Mermaid, Mica, Paste and Pearls!

Good morning everyone.
I hope you are all well and staying safe during this weird time we are currently experiencing.

Honestly I thought this lockdown thing would give me oodles of time to craft but I really don't know where my hours go to each day.  We don't stay in bed late but the days seem to just rush by and before I know it, the weekend is upon us once again.
Gosh at this rate it will soon be.................  NO!  I am not going there! Lol

Anyway, did my blog post title intrigue you a little?
I wanted to show you a little project I did using all of the items in the title.
This did start out as a card to be sent in for the Design Team work for the last show but my texture paste didn't dry quickly enough so I set it aside to use another day, and here we are!

To give the texture paste a bit of interest I added in some of the interference mica powder that Lisa introduced recently.  I think I used the purple one, mind you it never looks like I expect it to. Lol

So once I had added the mica to the paste I dragged the paste through the bubblewrap stencil, one of my favourites.  Then set it aside to dry.  Now you can dry it with your heat gun but sometimes it bubbles if you get too close so my preference would always be to air dry it.

Next I went around the edge of the card with a sponge and some Distress Oxide ink in Spun Sugar.

Using Lisa's Four Point Blooms die set I cut out some flowers using the Bali paper pad.

Now I have to be honest here, I have TOTALLY pinched this idea from Claire Newcombe because I thought it just looked A-MAZ-ING!  
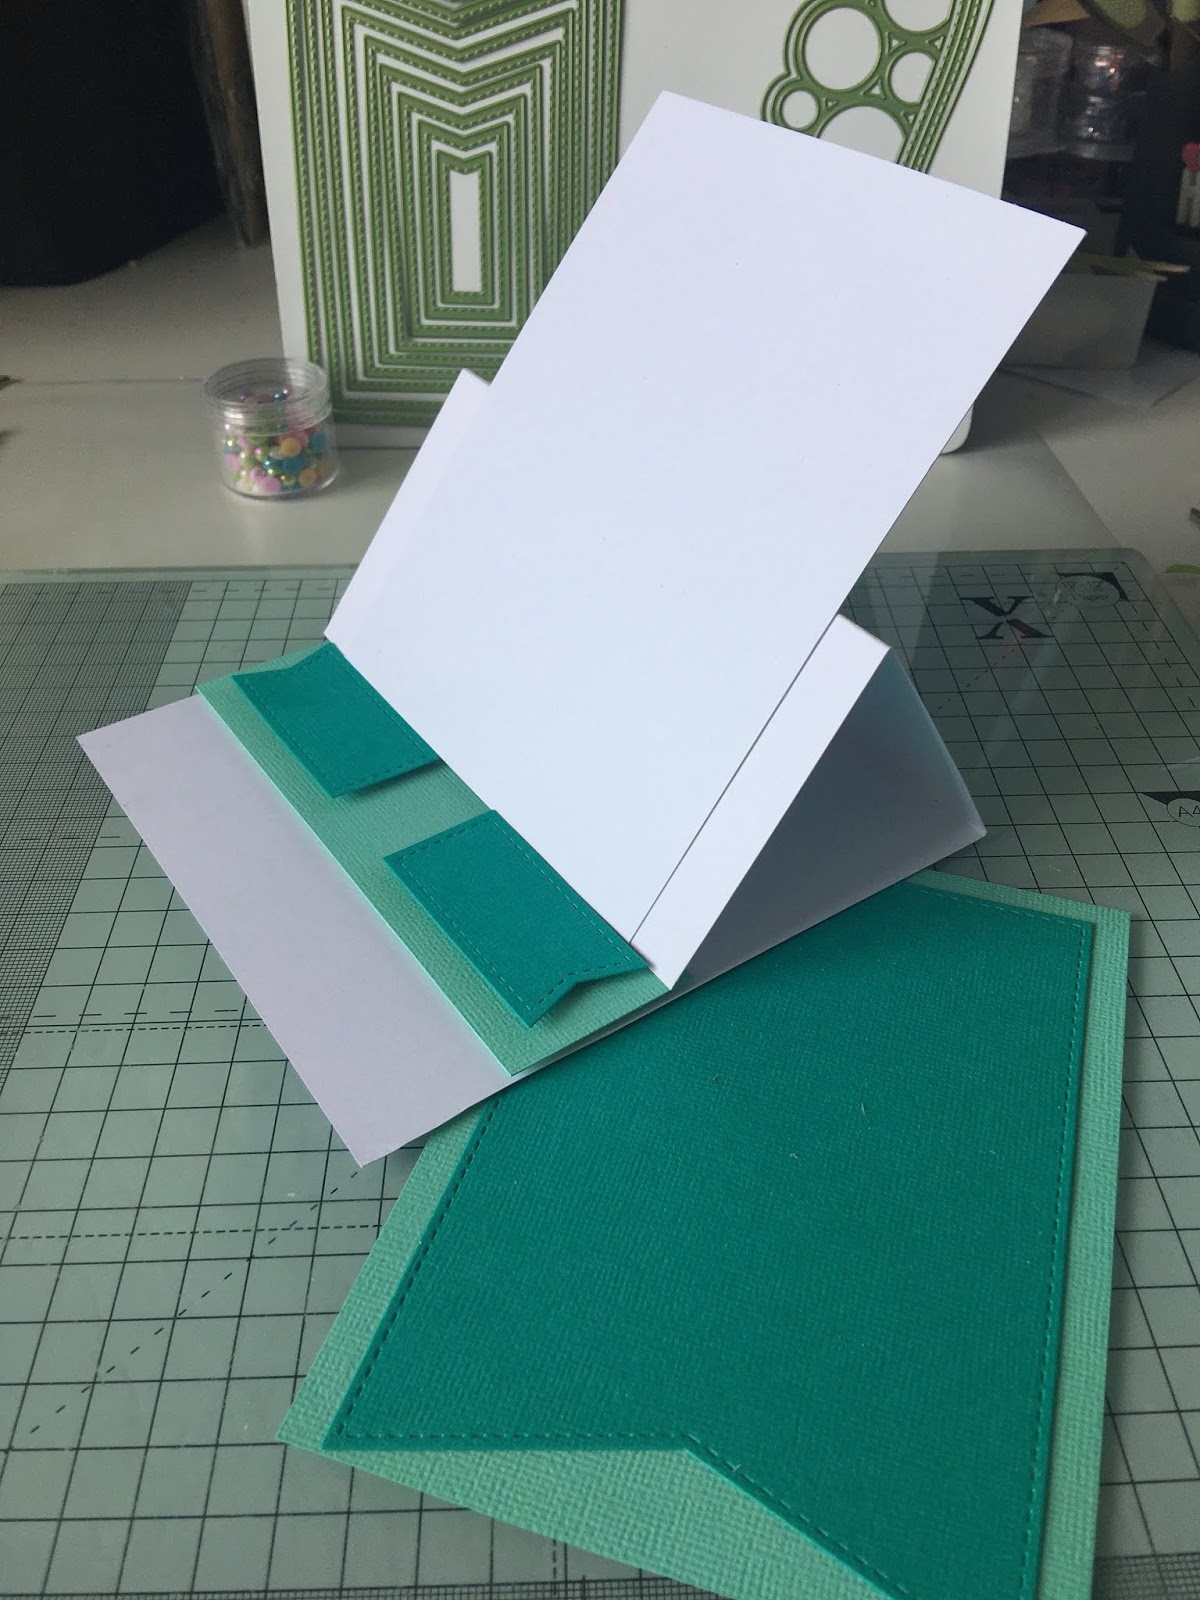
I cut two of the nested flag dies and added the white (not white, lol) Mermaid Tails glitter to the smaller one and layered that up on to the next size up.  Again I went around the edge of the larger one with Spun Sugar Distress Oxide.

I added some of the Gorgeous Sisal behind the flowers and of course I just HAD to use the fabulous new Cool Skies pearls for the centre of my flowers.  The finishing touch was one of the little phrases from the Wordage sheets.  I cannot tell you how useful these are. 😃😃
See how the texture paste looks different colours from different angles?  That's what the interference mica powders do.  Cool eh?
The eagle eyed amongst you will notice that the flower in the middle does not have as many layers as the other two.  Well, that's because I got cocky and decide to cut my flowers without taping them down to the paper.  Not only did they move and not cut all of them, I have also dented one of the flower dies as the little leaf die moved underneath it!! Be warned - secure your dies if you want to make the most of both them and the paper you are using!! 😱😱😱

So folks, there you have it -
Mermaid, Mica, Paste and Pearls!
Hope you like the project.

Remember all the products I have used will be available at Lisa's website - www.thatcraftplace.co.uk  
Lisa will be back on your screens on 7 May with some GAWJUSS new stuff - honestly, it is to die for.

Don't forget to visit our Facebook group Crafting with Lisa Horton and there are oodles of samples on our Pinterest pages too.

Happy Crafting! 
xxx

Tuesday 28 April 2020

Aperture stencil scene card by Liz

Hi guys, I'm here today to show you a card I created for Lisa' Horton to show on Create and Craft tv, I created a more traditional style card making a scene using one of the circle aperture stencils which were on the last show, these are really useful and they also come with the inner circles to use as masks too, 

They also do Rectangles too which again have the inner sections, both of these stencils have so many uses and ways to create with them,

So onto my card


Simply place your chosen  larger circle size stencil having first removed the inner section onto your card and taking some sort of ink, I used distress inks with some green at the base of the circle to create the look of bushes, keeping in the circle stencil, I went over the top of the green with a little darker green, which gives the bushes depth, keeping the circle stencil in place I then  used some blue to create the sky simply going around the edges only,
at this point remove the circle stencil and using one of the smaller ones place were you want a sun to be, simply use distress inks in the circle as before, remove the circle stencil and use the smaller circle mask over the top of the sun you created, then add your first circle over the scene as before,

I found taping the circles stencil down with easy lift tape helped at this stage, then holding the smaller circle mask in place go around the circle going slightly more into the centre with the blue to create the sky again, I  did this lightly by simply holding my blending tool softly to create a halo effect around the sun, where the blue and green met above the bushes the colours mingled to create another effect which again gave depth to the scene,

I mat and layered some white and black card to create the card base, wrapping some twine around the top layer which has the scene on, 

I took One of the Butterflies from the Majestic butterflies stamp set and stamped it onto some watercolour card, I then painted the butterfly with some distress re-inkers in colours that toned with the scene, after cutting it out I slightly bent the wings upward and glued the body of the butterfly in place,

I finished off the card with two of the verses from the butterfly stamp sets Majestic Butterflies and Wings and Things then added some of the gorgeous pearls which Lisa also sells,

Check out Lisa's online shop That Craft Place LTD  too for some more products which are available if in stock two weeks after the shows on Create and craft


Happy Crafting!!!
Hugs Liz xx

Monday 27 April 2020

Colourful Art Journal

Hey everyone!
Today, I have for you a bright and colourful art journal.


Not my usual thing - either art journals or bright colours - but it kind of just happened and I think the outcome is pretty cool.

Here's what I did:


Start by gluing on some of the sentiments and various tissue papers for the first layer on the background.


Once I was happy with the 'stickers', I added some paint and wiped out excess through my stencils 
(here, I used Groovy and Mosaic).


When the stencilled paint dried, I added little splodges of paint all over and smeared them out with my fingers - I kept adding and drying until I was happy with the result.


Next, I used the Creative Words stencil to add black pen wording over the colourful background.


The final step was to lighten up the page with white spots using white chalk paint and Bubblewrap stencil. I also added a few more phrases from the Wordage Sheets and outlines a quick frame with black pen.


Here are some close-ups of the page:


See you next time!


Sunday 26 April 2020

Thanks with Daffodils


                         Hi  lovely crafters.

I hope you managed to enjoy Easter. My April blog popped into my head while on my daily walk surrounded by my favourite flowers.

I absolutely adore daffodils as they are warm, bright and really make me happy.
I am sure many of you will be handing out little thank you cards when this sad time is over.

                                 Enjoy xxx


First of all stamp 6 each of the two smallest 4 point flower stamps with any yellow ink or paint. Colour the backs in yellow. Pearce a hole through the middle of each then cut out.


Bend 2 stamens in half and thread through the flowers.


Add a blob of glue to the stamens and squeeze the four petals around them to resemble a daffodil flower. Hold in place until firm. I used Cosmic shimmer glue as holds in a few seconds.


Stencil a background  using the tartan stencil onto a 4" square white card blank or size of choice.


Emboss  a small piece of pink card with the tartan stencil and cut out a vase shape. Snip stems and leaf shapes out of green card. Bend and twist them like natural daffodil leaves.
Add the vase and stems to the card.


Glue the flowers above the vase as close together as possible then slide the leaves underneath bending over for a more realistic effect.


Using Ticker sentiments stamp set stamp out Thank You in pink and add to card.

I hope you like this little card. It is very pretty and I am sure it will make someone smile.

Have a lovely week

Heidi xxx

Thursday 23 April 2020

MDF Tag Canvas


Hello everyone.

Sharing a canvas made with MDF tags and a background using beautiful stamps and stencils.


For the canvas I used

Lisa Horton crafts MDF tags and panel,
Majestic and Jewelled butterflies stamps,
Trailing foliage Ivy stamp set,
Daisy Burst stamp,
Nested banners dies,
Bubble wrap, Script stencils,
Mica powders,
Sisal,
Gold embossing powder,
White card,
White Gesso paint,
Inks and glue gun.


I used the panel at the back of tags with hot glue gun.


 Added white gesso paint to the edges of tags as you can see on the photo.


I blended dye inks with stencils randomly to the white card, used purple and green colour inks.


I drawn around the canvas with pencil on the back of blended card, also I marked little dots where the little holes of the tags are. 


Cut around the card then I draw lines of the edge around 0,4 cm to make slightly smaller then the canvas itself.


I used my punch holes and punched holes from the back of the card where I marked little dots.


As you can see the photo above, the card shape is slightly smaller the the canvas.


I did added some splatter by mixing some ink with water on acetate and adding to the card. Used distress tool for the edges and tore some edges little bit and blended some ink around the edges.


I stamped some daisies and ivy with inks, some daisies I stamped with Versa mark sticky ink and added pink mica powder to the stamped flowers. Then glued the patterned card with tacky glue to mdf tag canvas.


Stamped the butterflies and Ivy coloured them with distress inks using a bit of water. Fussy cut out the butterflies and ivy. I mixed little bit of pink mica powder with water and coloured the butterflies on top of red colour. Stamped the sentiment with Versa mark sticky ink and heat embossed with gold embossing powder. I layered some ivy and butterflies into canvas before gluing them as you can see the photo above.

Please come and join Crafting with Lisa Horton Facebook group 

Thank you for stopping by and leaving your comments.
Stay safe.
Crafty Hugs Natalia.

Monday 20 April 2020

Tag of Positivity


Hello everyone...hope you are all well.
Today's project I am calling my Tag of positivity ....it's to hang in my craft room and to remind me that despite the current situation there have been positive things that have happened ... I will write all these positives on the back of my tag. ...so in years to come I will have memories of this strange and unprecedented time .

For the tag I used the following products from Lisa Horton Crafts-
Chipboard tag
Bubble wrap stencil
Four point flowers stamps and dies
Mini alphabet bunting and dies 
Mini number bunting dies 
Pearls
Mermaid Tails

All available from www.thatcraftplace.co.uk.

So this is how I made it ....
Firstly I covered my tag with white card. I then used my inks , blending tool and bubble wrap stencil to create a colourful background. I went for rainbow colours as that is also a reminder of the current times 


Then I started on the decorations....
I stamped and heat embossed the four point flowers with white embossing powder ..then coloured using the same inks that I used for my background ...I then cut out the flowers and layered them up.


Then I cut out my words using the mini alphabet dies...I cut them  in white card and then used my alcohol markers to colour them in rainbow colours . I attached them to string ...like proper bunting. 


I then glued the bunting to the tag 


I finished off by decorating with my 3d flowers , pearls for the flower centres. ..and then mermaid tails for added sparkle .


My tag also ties in with the current challenge over on our Crafting with Lisa Horton Facebook page ..
The theme of the challenge is Tags/ Memories ....why not enter there is an amazing prize to win ! 

Thank you for stopping by 

Lisa Robson
Aka...Mess2Magic 

Sunday 19 April 2020

All We Need Is A Little Sunshine

Hello Crafty Friends!
Fairuz Fabiha here from the Craftivation. Today I’ll be sharing with you a simple card I made using some of the amazing products from Lisa’s collection.


Used Supplies-
1. Medieval Stencil
2. Nested Flag Dies
3. Wordage Sentiment
4. Sisal
5. Greyboard Heart Embellishment

You can check out the That Craft Place/ Lisa Horton Crafts Website to get your hands on some of these gorgeous products.

Closeup photos-


To create this card, I chose jet black cardstock as the card base. Then cut out a cool grey panel using Lisa’s nested flag dies and did some stenciling using Lisa Horton Crafts Medieval stencil & distress ink (shades- shaded lilac & chipped sapphire). After attaching the panel on the card base, I added a greyboard heart embellishment stenciled with the same medieval stencil and colored in black in the center and topped it with two bright yellow paper flowers. To add some more interest, I used some sisal beneath it and some yellow stones as embellishments. Finally finished off the card with the perfect sentiment “All We Need Is A Little Sunshine” from Lisa’s Wordage Sentiments.

Hope you guys liked today’s card. Thanks for visiting the blog. Xx

Love,
Fairuz Fabiha.

Saturday 18 April 2020

Just for you

Hello Sweet Crafty Friends!

Kendra here today to share a card with you!

I'm back again this Saturday with another lovely CAS card using another butterfly from the Majestic Butterflies stamp set:
These butterflies are just so beautiful!!  Unlike my bright and colorful card from last weekend, I just really wanted to create a simple elegant card!  So I decided to create a rectangle mask and inked up a rectangle on my white layer with pink distress ink.  I then stamped the pretty butterfly!!

I added some rhinestones to the butterfly to give it a little bling!

I die cut the tiniest flag from the Nested Flag Dies twice, once from pink cardstock and once from white.  Thought it would be fun to layer then off set.  I stamped the 'Just for you' sentiment on the white flag first before adding it to my card.  The sentiment is also from the Majestic Butterflies stamp set!!


Have a lovely day!  


Thursday 16 April 2020

MEET THE TEAM - NICKY ROUSSOU


NICKY ROUSSOU

Hello, I’m Nicky Roussou. I am so proud to be invited to join Lisa Horton’s Design Team! 

I live in a little village in Buckinghamshire with my partner and 4 children, 2 of which are twins! 

Together we run our own businesses and I also have a small business teaching Pilates. 

I guess I have always been quite a creative person, right back to as young as I can remember. As a child I was always drawing, painting, designing and making things, it always gave me great pleasure. 

Then in 2011 when my daughter was about 6 months old, we attended a local group that offered a scrapbooking class with childcare provided in the same room… It was amazing, I could watch her play, take and print photos of her and make a page in a scrap book there and then and it sparked a massive interest in me! Within weeks I had a draw full of paper and stamps  

Then one of my Pilates clients suggested a local craft shop in town not too far from me and that was the beginning of a journey into the crafting world! I have since grown a beautiful craft room full of goodies over the last 8 and a half years and overtime my style has grown and my projects just keep getting better and more fun. I can’t tell you how many ideas I have! 

This is my first time being a designer and I’m super excited to see what wonderful makes I can create! 

Much Love … Nicky xx
Check out Nicky's page
The Rustic Rose Craft Boutique

Wednesday 15 April 2020

Easel Card By Tina Foster


Hello everyone, its great to see you're taking a look at my latest blog. Hope you'll enjoy creating this one with me. For this project, I've put together a very simple easel card using the fab new products from Lisa Horton. Of course, by using the lovely banner dies you can create any message and personalise too, making it extra special for the recipient.


Tools 

Start by taking (or making) a card blank.  The blanks I'm using measure 15cm x 15cm.  I always use 300gsm cardstock for the base card to make it nice and sturdy. Score down the middle of one half and use a bone folder along the crease to give a nice fold.
Next use the nested flags die set to cut 3 flags in your darker main colour shade. Cut 1 of the largest flags and 2 of the second smallest. Cut the contrasting lighter shade backing a little wider than your large flag (11cm x15cm) and stick onto the back of the flag leaving a border at the sides and top edge only. Now take some more white base card (15cm x 12cm) and stick this to your easel making sure when you lay it flat its the same height as your card. Wait to stick your flag onto this as you'll want to pop the strings of your banner between these layers when you're ready.

For the easel stopper cut a piece of the lighter shade of your colours measuring  15cm x 4cm. Stick it onto your card with foam tape leaving a white space underneath it measuring about 3cm. Add your 2 small flags, again with foam tape.

Next die cut your flower layers, your swirls, leaves and banner letters for your message on the card.
Put your banner together using glue. I always put the string inside the two layers for a neat finish.

Curl the edges of your flower and leaf die cuts with scissors and layer up your flowers with foam tape to add dimension. 
Stick the flowers in your desired position On the card, leaving enough space for your banners. Add your banner(s) securing on the back with 3d foam and pop it on to the easel with an equal margin at each side.  Glue the flourishes to the small banners and use foam tape to secure the remaining flower to the middle of the stopper.

Use a corner rounder to soften the bottom corners, and use Lisa's beautiful new ab pearls for a touch of elegance. And to add a little love to the message, I decided to pop on a couple of little hearts from my stash.

I hope you found this project helpful, and that you enjoyed a little crafting therapy! Until next time, please take care and stay safe x
Tina x