Showing posts with label Four Point Blooms Dies. Show all posts

Saturday, 9 May 2020

Quick Hello

Hello Sweet Crafty Friends!

Kendra here today to share a card with you!

This card features the lovely Medieval Stencil!!  I just LOVE Lisa and Danny's amazing stencils!!
I was so excited to try out the Deco Foil Transfer Gel!   I used the gel over the Medieval Stencil, let it dry for awhile.  Then placed the lovely purple foil on top, ran it through my die-cutting machine to apply pressure and then gently peeled away the transfer sheet!  What a beautiful design!!  I love how this card turned out!!  The shimmer/shine is so pretty!!

I also added some lovely die cut flowers from the Four Point Blooms Die set!  I added some lovely Mermaid Tails to the center of each of the flowers!!  Before I added the flowers to my card I placed some Green Sisal and then added my flowers above it!!

The 'A Quick Hello' sentiment is from the Ticker Phrases stamp set!


Have a lovely day!  


Wednesday, 15 April 2020

Easel Card By Tina Foster


Hello everyone, its great to see you're taking a look at my latest blog. Hope you'll enjoy creating this one with me. For this project, I've put together a very simple easel card using the fab new products from Lisa Horton. Of course, by using the lovely banner dies you can create any message and personalise too, making it extra special for the recipient.


Tools 

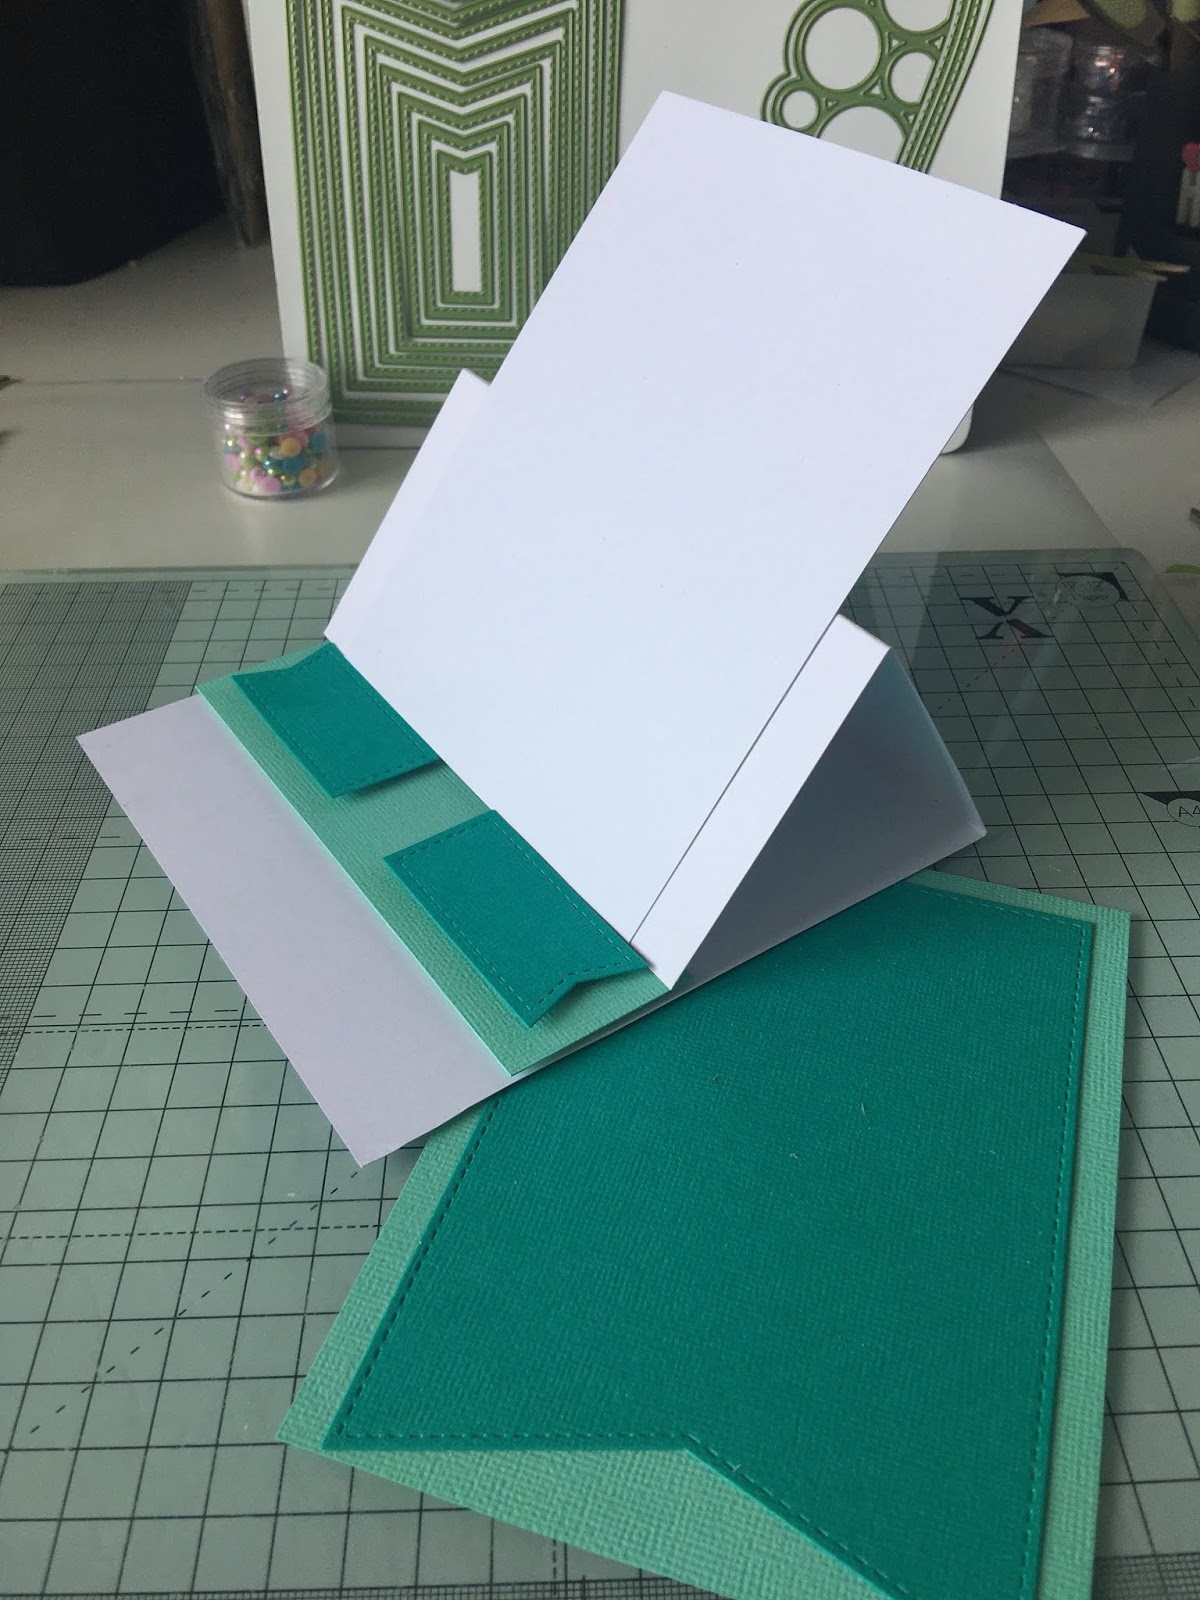
Start by taking (or making) a card blank.  The blanks I'm using measure 15cm x 15cm.  I always use 300gsm cardstock for the base card to make it nice and sturdy. Score down the middle of one half and use a bone folder along the crease to give a nice fold.
Next use the nested flags die set to cut 3 flags in your darker main colour shade. Cut 1 of the largest flags and 2 of the second smallest. Cut the contrasting lighter shade backing a little wider than your large flag (11cm x15cm) and stick onto the back of the flag leaving a border at the sides and top edge only. Now take some more white base card (15cm x 12cm) and stick this to your easel making sure when you lay it flat its the same height as your card. Wait to stick your flag onto this as you'll want to pop the strings of your banner between these layers when you're ready.

For the easel stopper cut a piece of the lighter shade of your colours measuring  15cm x 4cm. Stick it onto your card with foam tape leaving a white space underneath it measuring about 3cm. Add your 2 small flags, again with foam tape.

Next die cut your flower layers, your swirls, leaves and banner letters for your message on the card.
Put your banner together using glue. I always put the string inside the two layers for a neat finish.

Curl the edges of your flower and leaf die cuts with scissors and layer up your flowers with foam tape to add dimension. 
Stick the flowers in your desired position On the card, leaving enough space for your banners. Add your banner(s) securing on the back with 3d foam and pop it on to the easel with an equal margin at each side.  Glue the flourishes to the small banners and use foam tape to secure the remaining flower to the middle of the stopper.

Use a corner rounder to soften the bottom corners, and use Lisa's beautiful new ab pearls for a touch of elegance. And to add a little love to the message, I decided to pop on a couple of little hearts from my stash.

I hope you found this project helpful, and that you enjoyed a little crafting therapy! Until next time, please take care and stay safe x
Tina x