Showing posts with label Claire Newcombe. Show all posts

Wednesday, 17 June 2020

Versatility of Mandala stamps and stencils


Hello, and welcome back to the Lisa Horton Craft blog, Claire Newcombe with you today.

Today I'm sharing with you my projects from each of my FB live events throughout the month of June so, plus the first look at a card scheduled for 23rd June.
Each of the projects in the photo above have been made with the June challenge theme in mind, and will be sent to the winner of June challenge which is 'SETS of THREE'

The theme can be interpreted in any way you choose, whether it be adding three elements on your project, or maybe making three ATC's, a set of three co-ordinating projects....your choice, have some fun with it.


There is another way in which all the projects made are linked, and that is that they all feature the fabulous Mandala collection of stamps and stencils....all of which are now available from Lisa's website

I wanted to create a selection of very different projects, demonstrating just how versatile the Mandala designs can be and how well they slot into Lisa's whole repertoire of products.

ALL FB LIVES FROM DESIGN MEMBERS CAN BE FOUND ON OUR NEW YOUTUBE CHANNEL, FOLLOW THE LINK TO SUBSCRIBE

I have attached the Youtube links for the projects that I have already created, if you would like to make them yourself.

1. Facebook Live 2nd June (YouTube https://www.youtube.com/watch?v=QeED11ESUOo)
I have created a set of three ATC's (artist trading cards) in a very feminine style. The mandala stencils feature in the background as a beautiful backdrop for the A5 Foliage stamps.
You will see on the middle card the mandala pattern has been clear embossed as a design feature. 


----------------------------

2. Facebook live 9th June (YouTube https://www.youtube.com/watch?v=qBKU7Y0AhGE&t=498s)
These cards show the beauty of the Mandala stamps themselves, and the fun you can have colouring them.
But also how they can be used to create subtle backgrounds, when stamped with clear embossing ink onto coloured card for a tone on tone effect.


------------------------------

3. Facebook live 16th June (YouTube https://youtu.be/2XeqCWhlb2Q)
The mandala stencils are layered here in the background with Lisa Hortons Woodgrain background stamp, and Mandala stamps highlighted with mica powder.
It is important to show that all products released into the Lisa Horton range will be able to mix and match with each other.


----------------------

4. Facebook live scheduled for 23rd June
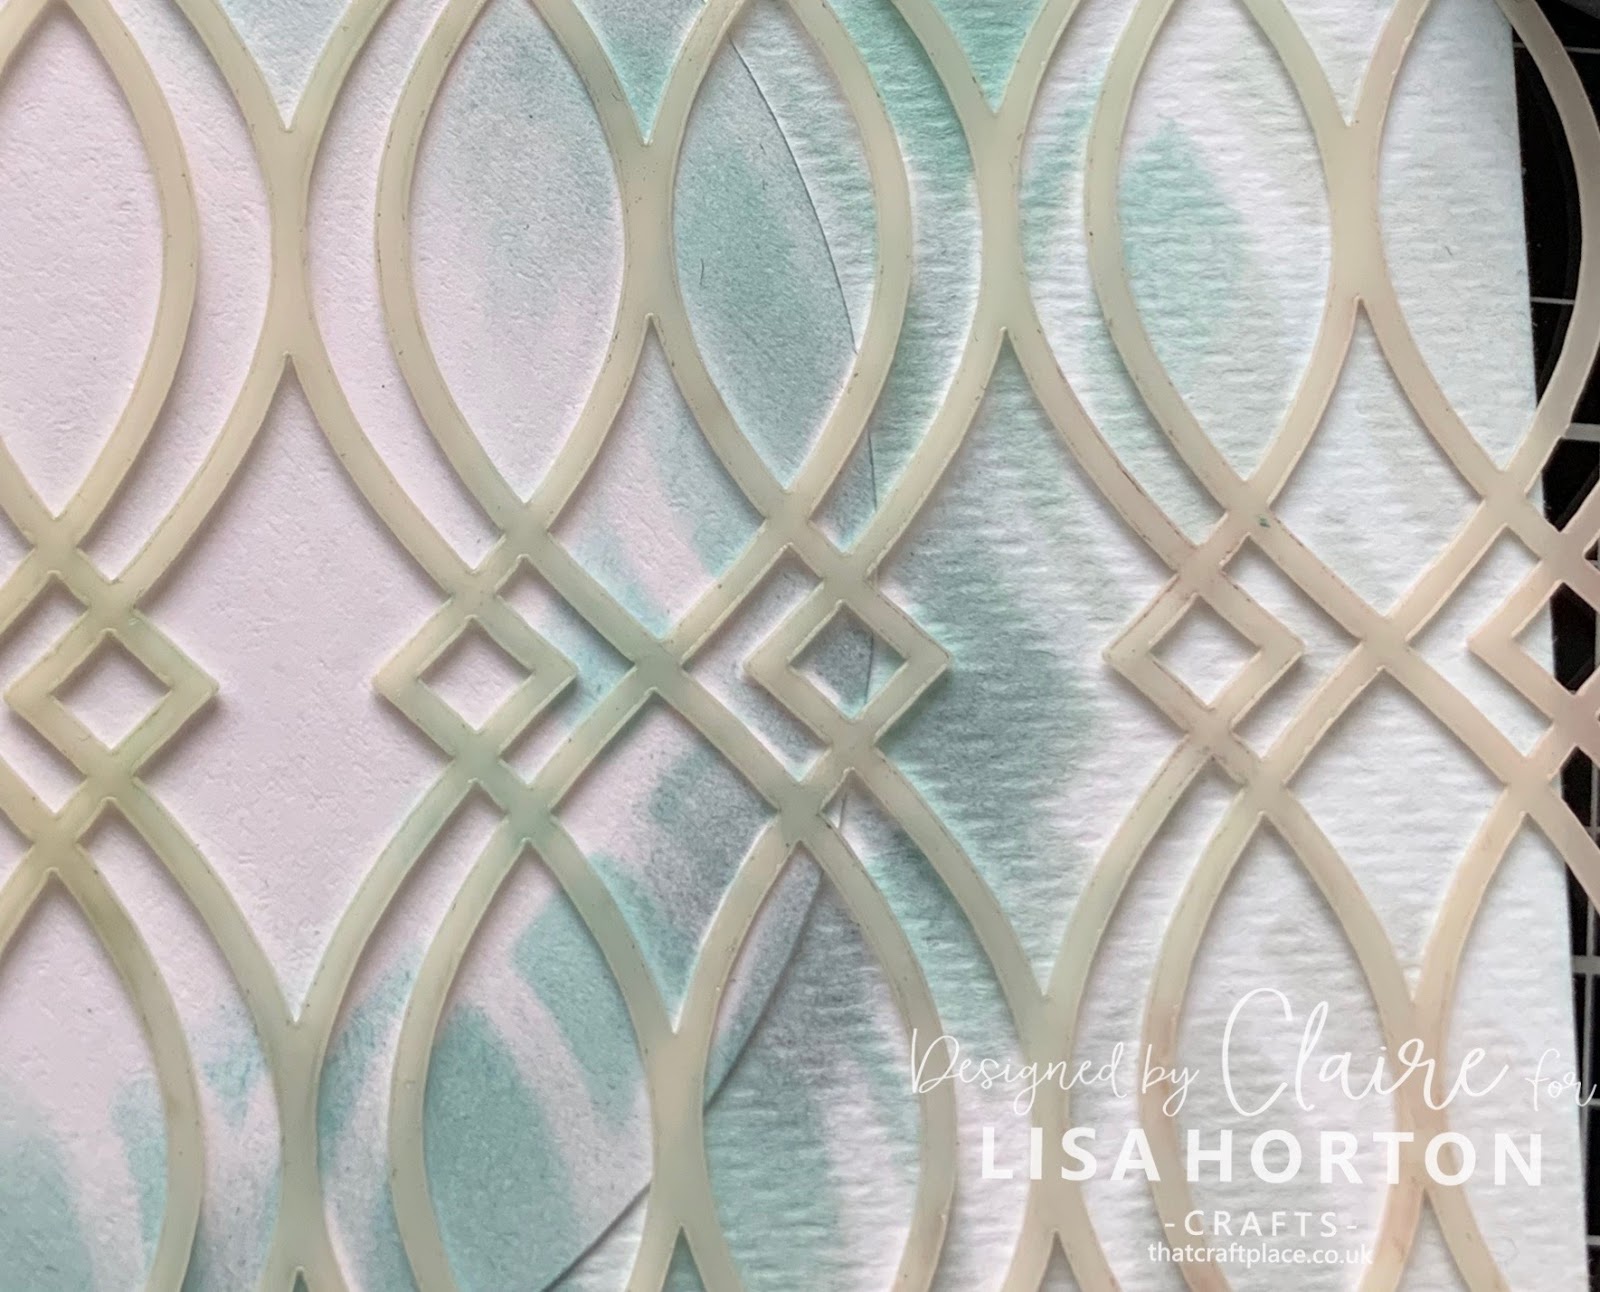
This project uses the mandala stencils in a more familiar way, layered up to show their beauty. I have used the circle stencils with. distress ink to create a background. The  'grungy' details have been added using Lisa's A6 Texture stamps.
I hope you can join me next week when i demo this on a FB live 


Thank you so much for stopping by, I hope this has made you smile today.
Remember we have a lovely Facebook group where we'd love for you to share all your makes with Lisa products, I'll pop the link just here


Take care of yourselves x

Saturday, 2 May 2020

Spotlight on Butterflies


Hello, Claire Newcombe back with you again today.
Some of you may have joined me for my last Facebook live, where I mentioned that Lisa's papers would be perfect for a particular technique to highlight the beautiful butterfly stamps recently released by Lisa Horton.


Today I'm using this opportunity to talk you through that process again, with step by step photos. Although I'm going through a whole project here, I try to included tips and techniques that can be transferred to all projects.
I have create three cards all, using the same technique, but each is unique.


To create todays card, I have used the following of Lisa's products


1)  I am using this beautiful sheet from Lisa Hortons Bali, Island Collection of design papers. Use the colours within the paper to determine the inks to use in the project.


2) Stamp some tonal script detail into the lighter areas using second generation ink-this is where you ink the stamp, stamp it lightly once onto scrap paper before stamping onto your project. Use a second colour to blend the edges around the script detail, making it blend into the background.


3) Use a clear embossing ink to stamp, and heat set with Lisa's ultra fine white embossing powder. Using Lisa's powder has been revelation I must admit - the detail that it picks out and retains from the beautifully intricate stamps is amazing. 
Also at this stage, use a combination of the chosen inks and the texture stamps from Lisa's 'Texture' stamp collection to add more detail round the corners.


4) Use a blending sponger to apply ink around the outside of the embossed butterfly image. Consider using a contrasting ink to create a halo, or a shadow effect. The ideal is for this to still be visible when we later decoupage another stamped butterfly into place.


5) Use a clear ink to stamp a butterfly onto coordinating cardstock. One tip I find useful when looking to emboss an is to use a stamping platform. I then ink and stamp the image very lightly a number of times - this means that i don't need to press the stamp onto the card with too much force, risking losing some detail.


6)Sprinkle the embossing powder and heat set. 


7) You'll notice here I havn't stamped the whole image. That is because I only want to fussy cut the main body of the image- the intricate tails on this particular image is already embossed onto the backing paper. Decoupage this now onto the backing paper using either a 3D adhesive or glue.


8)Before assembling the card, add extra detail by stencilling onto the card blank.


Thank you so much for stopping by, I hope this has made you smile today.
Remember we have a lovely Facebook group where we'd love for you to share all your makes with Lisa products, I'll pop the link just here


Take care of yourselves x

Sunday, 5 April 2020

Beautiful Butterflies in the spotlight


Hi there, Claire Newcombe back with you and sharing a project I created for the most recent of Lisa's Create & Craft shows, aired on 3rd April.

I created this peach card using the newly launched butterfly's designed for Lisa by the wonderfully talented Anne Ruffles.

This particular butterfly is from the Wings & Things set, still available in a couple of bundles and still exclusive to C&C (link below)


Today on the blog I have created this blue card, in the same style and with a step by step walk through for you. I will also be going live on Facebook on Tuesday 7th April recreating this card in real time too, it will be great if you can join me.

1. Wherever I can i like to work on Lisa's super smooth cardstock, not only is it great for stamping, it is fabulous to blend your inks on to also. To start I applied a small amount of light (tumbled glass) distress oxide through one of the newest stencils (Lisa's A5 stencil, Medieval design)


2. I cut a circle mask (3.5 inches wide) from copy paper, placed it on the project and then replaced the stencil over the top again. I made sure I pattern matched the stencil to the design already on the project. I tend to just hold the masks and stencils in place when I work, but you can of course use your preferred method to make them more secure before applying the ink.


3. As you can see from the photo below I now work a darker shade of ink ((broken china) round the outside edge of the circle and through the stencil.


4.Introduce another shade (iced spruce) to add some shadowing and continue building colour around the outside edge of the circle mask. When you remove the mask and stencil to reveal, you should have a highlighted circle. If you feel you need more depth of colour and shadow effect replace both mask and stencil and continue adding colour.


5. Use a fine liner pen to draw doodled lines around the outside edge of the project and also the highlighted circle. You now have a background ready to frame the main focal image of your project. I have chosen one of the butterflies from the beautiful 'Jewelled Buttlerfly' Collection, amd coloured it with alcohol markers. Ive added some sparkle with the new collection of mermaid tails, and stamped one of Lisa's Ticker tape sentiments.


Lisa Horton Crafts products,
A5 Medieval stencil
Jewelled Butterflies
Just Saying..Ticker phrases 


Thank you so much for stopping by, I hope this has made you smile today.
Remember we have a lovely Facebook group where we'd love for you to share all your makes with Lisa products, I'll pop the link just here


Take care of yourselves x

Monday, 2 March 2020

From the Heart....an alternative technique to use stencils.


Hi Claire back with you today and sharing an alternative way to use the fabulous stencils by Lisa.

I am using the Heart Flurry stencil that featured in the shows on 28th February, but any of Lisa's stencils in this style will work with this technique.

We often this of using our ink blenders and sprays through our stencils these days, but they work equally as well using pens and or pencils.


Also, we can tend to forget hat we can use stencils to decorate fabric pieces, wether it be small cotton bags like I've used here, or t-shirts and leggings maybe to create something unique and personal.

Using pens, allow us to draw around the detail of the stencil, and as you can see above line art is produced, giving us plenty of scope to use our colouring or doodle techniques to in fill.

what is fantastic about Lisa's stencils is the lack of a squared off border around the outside, allowing pattern matching and repeating to happen much easier. But of course, you don't always need to use the whole stencil in your design...you as the creator can pick out the areas that you feel best suit your project. Like I have below, Ive only used a selection of hearts, leaving space for me to write out my own message.


In this second piece I have made I have created a very retro design, that at first glance doesn't bear resemblance to the stencils. This is because I have used the smaller areas in between the circles of the 'Pennies in a Row' stencil to create the diamond shapes.


Both of these designs were created whilst on a long haul flight, and highlights another reason why stencils are such a valid part of your craft stash. Obviously packing for any sort of holiday or trip you are tight on space (and weight if you are flying), stencils are so easy to travel with as they are lightweight and can easily slip into a book or even an iPad cover. Team with a couple of your favourite markers, and you are good to go. Ideal also if you spend time waiting anywhere (doctors surgeries, after school clubs etc).

We can most definitely look forward to more amazing stencil designs to come from Lisa, and I can't wait to use them myself and look forward to see how the rest of our fabulous design team will use them.


Friday, 14 February 2020

Butterfly Hugs & Kisses

Hi Im Claire Newcombe (aka Creative Makings) and back today with an effective stamping technique for you.

I have used one of the Butterflies from the EDGEcutz Butterfly Flourish DL stamp set, and one of the beautiful papers that are due to make their debut in Lisa's next Create and Craft Show on 28th February.


1. Start my making some masks of the largest butterfly, by die cutting some post-it notes. Use these and utilise the sticky strip to keep them in place.....however Lisa is due to release her very own reusable masking sheets, so keep an eye open for that because they are brilliant to use.


2. Here you can see I have cut 4 masks, make sure you have plenty.Its very easy to cut more as you need them. The die is from the coordinating EDGEcutz Butterfly Flourish die set


3. Begin by stamping in the centre of the page and work your way out towards the edges, where you will eventually begin stamping off the page. 
Cover each butterfly as you stamp it, so that you can stamp the next butterfly and overlap.
Only remove the sticky mask when you are not stamping next to that image. 


4.  I am stamping onto Lisa's own design papers (coming soon) because I loved the dreamy effect the colours made - it meant that I didn't need to colour the butterflies, only highlight them.
This technique could easily be done on plain stamping card if you wanted to create a page for yourself to sit and colour.


5. Die cut a shape from the centre, mat & layer onto complimentary cardstock and replace back into the centre on 3D foam pads.
Mat the whole sheet onto black card before fixing to the front of a card blank.


 6. I have highlighted the central panel by adding some shading to the butterflies with colour pencils. You could add glitter or even glossy accents.
Ive also die cut one of the detailed butterflies (from the EDGEcutz Butterfly Flourish die set) as a three 3D element along with the sentiment.


I can't wait for you to see the beautiful papers that Lisa has designed. Their quality is second to none, and take ink brilliantly...whether its stamping, shading or blending.

Thanks so much for popping by. 
Remember to share your makes with us over in our friendly crafty Facebook group.


Saturday, 1 February 2020

All about me - Claire Newcombe

- Meet the Team -
Claire Newcombe 

Hi my name is Claire Newcombe, otherwise known in the crafty world as Creative Makings. I am a stay at home Mum to 2 boys teenage boys, and make the most of my spare time by crafting and going to the gym.
I have crafted in various guises since I was a girl, and began by teaching myself cross stitch. I found my love of paper crafts, when my eldest son was born and I made my announcement postcards letting everyone know he’d arrived.
Over the years my style has changed and developed into what I would describe now as clean and modern. I try to put a modern twist into all the products I use, whether its vintage papers or classic stamped images. My preference is to make cards, but I view them as small canvases, designing each one individually as a stand alone piece of artwork that can be gifted. I am largely influenced by the natural world, and when given free reign tend to use lots of blues and greens against a natural palette, making me one of a few people (I think) who enjoys making cards and projects for guys. Having said that I do also get very excited by patterned paper, always happy to add new gems to my collection. Give me some paper, a stamp and some inks and I’m a happy girl.
I have been very fortunate to have been on a number of design teams in the past and contribute regularly to leading craft magazines, and even had a stint presenting on one of the TV craft channels. I spend many hours crafting on my own, so when the opportunity arises I run workshops in my local area and love to guide people through a project and see their pride at creating something they believed they couldn’t.

Saturday, 25 January 2020

May your day be filled....Butterfly & circle stamped collage


Hi there I'm Claire Newcombe (aka Creative Makings), and am so pleased to welcome you to Lisa Horton's Craft blog.

I have long been a fan of Lisa's designs and am excited to be on the design team and create the inspiration to help launch the amazing products that are on their way to you.

My passion is as a stamper first and foremost and love to create inky stamped collages, and then hopefully to provide you with the confidence to have a go yourself.

My first project is using Lisa's first stamp releases
- Lisa Horton Island Collection designer paper pad, Bali (coming soon)


Choose 3 or 4 colours ranging from light to dark that compliment each other. The aim when layering stamped images is to use the paler colours first, working towards the last (top) layer being your darkest and most prominent images.

1. Create the backdrop by inking through a stencil with your lightest colour. I have used the floral stencil that was available exclusively in Lisa's first shows on the 20th January. 
(Don't worry if you missed one, there will more exclusives to come LOL!)


2. Use the same ink. or a tonal one and stamp the small accent pattern stamps randomly over the stencilled backdrop. 


3. Select a complimentary colour, and stamps that will add interest to the collage. in my example I have introduced a new shape along with the change in ink colour.

These techniques really allow you to make the most of the accessory stamps included in the set. Include the words also as a pattern building tool.


4. Stamp the main stamp image in your your statement colour. Here I have taken the largest circle stamp and stamped in bold blue over the layered background I've already created.

Remember that you don't always have to use the whole image. You can see I have masked off probably half the stamp with post it notes before inking, because it was too large to fit the project I was making.


5. Select and randomly stamp a couple of the larger accessory designs in your darkest ink colour. This adds to the layering and dimension. 
Probably best not to over do this layer, because it could swamp the focal point and look cluttered.  
It is of course depend entirely on the designs you are using, there is no hard and fast rule.


6. The final layer is usually the sentiment, and I like to stamp it in black. I like the crisp contrast against the design that really makes it stand out. 

I also like to stamp the wording directly onto my project, and find a stamping platform invaluable, as it gives me the confidence that I won't ruin my work. You can of course stamp the wording onto a separate piece, then mat and layer onto your card. Again it's all about personal choice.


7. Finally, I chose one sheet of the Lisa's fantastic new designer paper pads, to mat and layer my work onto , and accent by die cutting a couple of the individual EDGEcutz butterflies.


Thank you so much for popping by today, I do hope I have taken some of the mystery out of layered stamping. If you do have a go, come over and share in our Facebook group (link below). 

https://www.facebook.com/groups/468312444069507/?ref=bookmarks


Lisa's new products are exclusive to Create and Craft until the 4th February but then check Lisa Horton Crafts website for details of stockists: