Tuesday 31 March 2020

CAS Card Using Stencils

Hello Crafty Friends!

Fairuz Fabiha here from the Craftivation. Today I’ll be sharing with you how I made a clean and simple card using the Medieval stencil that Lisa will be releasing soon.

Step by step process-
1. Firstly, I took a white cardstock for the base of my card.

2. Then I masked the card diagonally, exposing the middle portion and applied & blended 3 shades of blue ink through the amazing Medieval stencil by Lisa Horton Crafts.

3. I then added two strips of silver mirror paper to border the stenciled portion of the card.

4. Added a sentiment strip from the wordage sentiment pad by Lisa.

5. Finally, finished off the card by adding some crystal embellishments.

Closeup photos-


Used Lisa Horton Crafts Products-

1. Medieval Stencil
2. Wordpad Sentiments

Thanks so much for visiting the blog. To see and fill your craft stash with more exciting products from Lisa, do keep an eye on the Create and Craft show on 3rd April.
You can also find some awesome inspirations from our design team by visiting the Facebook group for Lisa Horton Crafts Lovers, named CRAFTING WITH LISA HORTON .

Love,
Fairuz Fabiha (CRAFTIVATION). xx

Monday 30 March 2020

Begin each day with a grateful heart.


Hello everyone

I hope you are managing to cope during these uncertain times and making plenty of opportunities to craft.  This is a clean and simple card I created using:

Lisa Horton small MDF heart
Lisa Horton Bubblewrap background stamp
Natural Sisal
Red acrylic paint
Structure paste
Pink gilding wax
Faded Jeans Distress Oxide ink
Festive Berries Distress Oxide ink
Sequins
5" x 5" white card blank
4.5" x 4.5" white square of card

(Feel free to adapt the products used.)

I began by mixing a small dob of Structure Paste and red acrylic paint.  You could opt for using the acrylic paint only or mixing the Structure Paste with red inks.


Using a palette knife "butter" the heart with the paste/paint mix.  If you want a ripple effect then leave it as shown below.  Then dry off.


If you want to create a more uneven textured look - then simply lift your palette knife up and down over the paste.  Again dry the paste/paint off.  If necessary repeat the process. 


Add a little Gilding Wax of your choice across the surface of the dry heart.  Finally ink the edges using Denim Blue Distress Oxide Ink.   Leave the heart to one side while you prepare the white square background.


Take the Bubblewrap Background stamp and gentle sweep across the red paste/paint.  Try not to overfill the stamp and if necessary take a little of the paint away on a scrap piece of paper.  Gently roll the stamp across the centre of the 4.5" square card.  Repeat with a touch of Denim Blue Distress Oxide ink.

At this stage - clean off all the paint from your tools.


Ink the edges of the card using Festive Berries Distress Oxide Ink.  Now you are ready to layer up your card.  Adhere the background square centrally to the 5" x 5" card blank.


Take a small piece of Natural Sisal and stick to the centre of the background.  You may need to lightly trim the Sisal afterwards.  Next position and stick the heart onto the Sisal.


Finish your card with a few carefully place sequins and a sentiment of your choice.


I do hope you will try to make a card like this using the wonderful products from Lisa Horton Crafts


Lisa will be back with more new products on the 3rd April on Create and Craft TV.  You can find plenty of inspiration and support on our Facebook group Crafting with Lisa Horton.

https://www.facebook.com/groups/468312444069507/

and you can also find a wealth of photos from the entire Design Team on our Pinterest Boards.

https://www.pinterest.co.uk/lisahortoncrafts101/


Stay safe.  Keep well.  Happy crafting !

Best wishes
Elisabeth xx

Sunday 29 March 2020

Alice through the looking glass

Are you all mad Here???

Here is my blogpost.

Alice through the looking glass.

I made this art journal page with the lovely alice.
Let me tell you a story. 

Come with me down the rabbit Hole,
 and hurry hurry it's Time its almost Time.....

In Alice her head it was blanco, she didn't remember beeing down the rabbithole.
My journal page was as blanco as Alice her memory.
So i will take you on the journy of how i created this page.


Back to the beginning....

At first there was a glorious new paper line from Stamperia, they were on the show at create and craft tv with Lisa Horton ( the Magician).
She launched some real amazing craft supplies. Also she has these beautifull daisy burst stamps and dies.  Okay i am drifting of.  
I used one of the beautiful papers from the stamperia paper stack an gave it a place in the centre of this nice art journal.


Let me take you further down the rabbit hole.


And there they were sitting at the table drinking from lovely tea cups.
I cut out one of the pictures from the stamperia papers and glued it in my book.


And then....


I used the lovely new stencil from Lisa (the Magician) and coloured it with dylusions paints.


Then.....
I cut out the lovely daisy burst border and a few flowers from the daisy burst die set.
Both of them are cut out the papers of stamperia.


And as you can see on the left of the page i used this lovely stamp who will be coming soon.


It's always
TEA TIME


And they were having the time of their life, as the time was ticking slowly by.


Thank you for reading my story.
Feel free to comment beneath and follow my facebook, instagram, youtube etc.
These all can be found on google just type @bobomadeby and i can be found on all media.


Facebook    https://www.facebook.com/bobomadeby/


Blogger               https://bobomadebyart.blogspot.com/


Saturday 28 March 2020

Fluttering Around {By Miriam}

Hi there,

Today I am sharing with you a pen pot that I decorated using the wonderful Butterfly Flourish stamp set and dies.


I painted all of the elements of my pot before I glued it together.

Once the panels were dry I  stencilled over using the Hearts Flourish stencil and then outlined the hearts with a white pen.


I added mermain tails to the top of the rim to give sparkle to my pen pot.


I love these butterflies so much!

To begin with, I created a quick brayered background.  I then die cut my butterflies from the dried background.

I added pearls to the centre.


To finish, I added wire to my butterflies so that it looked like they were fluttering about above my pen pot.

So there you have it!

I had great fun making this and hope that I have encouraged you to want to try this for yourself.

Happy Crafting!
Miriam

Friday 27 March 2020

Sample Book Made With Nested Flag Dies

On Lisa's last show on Create and craft, she showed you the fabulous Nested Flag dies, these were very popular and I wanted to show you a way of using them that could also be helpful too,


I used the largest die for the base and the front of a little sample book, I die cut two of the larger ones in card stock, for the front of one of them I  die cut some of the fabulous Capri papers and adhered it on top of the card stock, this became the top piece, then I stamped one of the fabulous images stamps that were also on the show and coloured it, I tend to colour mostly in distress inks and these stamps coloured beautifully, I added a little of the Mermaid tails glitter on the glitter pot too,

When dry I cut out the image with the next sized down die from the set, this fits perfectly showing a gorgeous amount of border all the way round,

For the inside I cut some more of the largest die shapes, I used some of the awesome smooth paper off Lisa, along with one of the stencils from the show, this gives an idea of how the stencils look for a guide to keep for reference,


I did this on another one too, using  A different colour from the first, you can of course use the same all the way through,


I again did the same sort of thing with this page, of course it can be a way of keeping any samples of work as a reference, ie the Mica powders, or stamping, or for just a general note book too, 


The pages are all held in with a metal ring which can be opened to take out or add more pages as required,
I hope this has given you an idea of how versatile the dies can be,

Happy Crafting!!
Hugs Liz

Wednesday 25 March 2020

Recycling using Lisa Horton's products ...


Hello everyone ...   Hope you are all well and staying safe x
Lisa Robson here AKA Mess2Magic to show you how I made this cute little desk tidy from a recycled gravy container ! And also showcasing some of the products that Lisa Horton has on her shows today at 10.30 and 4.30 on Create and Craft TV .

I started off with any old common or garden gravy container ...

Mine was quite tall so I cut it in 2 making a larger and a smaller section for my craft tidy.

I then set about covering the containers ... So I used some white card and the NEW crackle stencil , my ink blender and inks .The stencils are so sturdy and done lift when you are blending


I then used the daisy burst edgecutz dieand cut it 3 times so it would go around the top edge of both containers ....


In my case I chose to colour the die cuts using my alcohol markers ..but you can use whatever medium you  choose or even just cut them in coloured card .


I chose spring colours ... I think we all need some cheerful flowers right now ! 

I then also cut some of the larger individual daisies so that I could 3D the border .


I coloured these flowers in the same way  as the border. 

I then glued everything into my containers ... Finishing off the flowers with some if the pearls also available from Lisa Horton Crafts and just a little trim along the top edge to neaten it off .


Practical and Pretty ... And Recycled ...what could be better ?

Don't forget Lisa's shows today on Create and Craft TV at 10.30 am and 4.30pm..you won't be disappointed with the new products and Lisa's demos are always a treat x 

Saturday 21 March 2020

Just Because card


Hello everyone.

Sharing a card using Nested Flag and Four Point Blooms flowers and new background stamp and of course gorgeous new mermaid glitters coming soon.


For the card
Lisa Horton Nested Flag dies,
Ticker phrases sentiment stamps,
Four Point Blooms dies and stamps,
New Knotted Woodgrain stamp,
New Mermaid white glitter,
Memento inks,
Clear embossing powder.
Card from Papermilldirect.

Make an A6 size vertical card from craft card.
Cut the largest Banner flag in black card. 
Using a stamp platform stamp the Knotted Woodgrain stamp into white card using three different brown colours for ombre effect. Cut it out with flag die slightly smaller then black flag, Mat and layer with black flag and glue to the craft card with foam pads.
Stamp flowers with purple ink and die cut. Build the flowers and add tacky glue to the center with glitter. For leaves stamp with green ink using stamping platform and stamp again with Versa mark sticky ink and heat emboss with clear powder. Die cut and blend green ink to the leaves. Add the flowers and leaves to the flag. Stamp a sentiment and cut out leaving white border, add to the flag on the top right side.


Don't forget to join Crafting With Lisa Horton group on Facebook for sneak peaks and where you can share your cards too.
You can find some crafty goodies on That craft place shop.

Thank you for stopping by and leaving your comments.
Crafty hugs Natalia.

Friday 20 March 2020

Butterflies make me smile.

Morning everyone.
This morning I would like to share with you a card I have made for Lisa's upcoming show on Wednesday 25th March at 10:30.

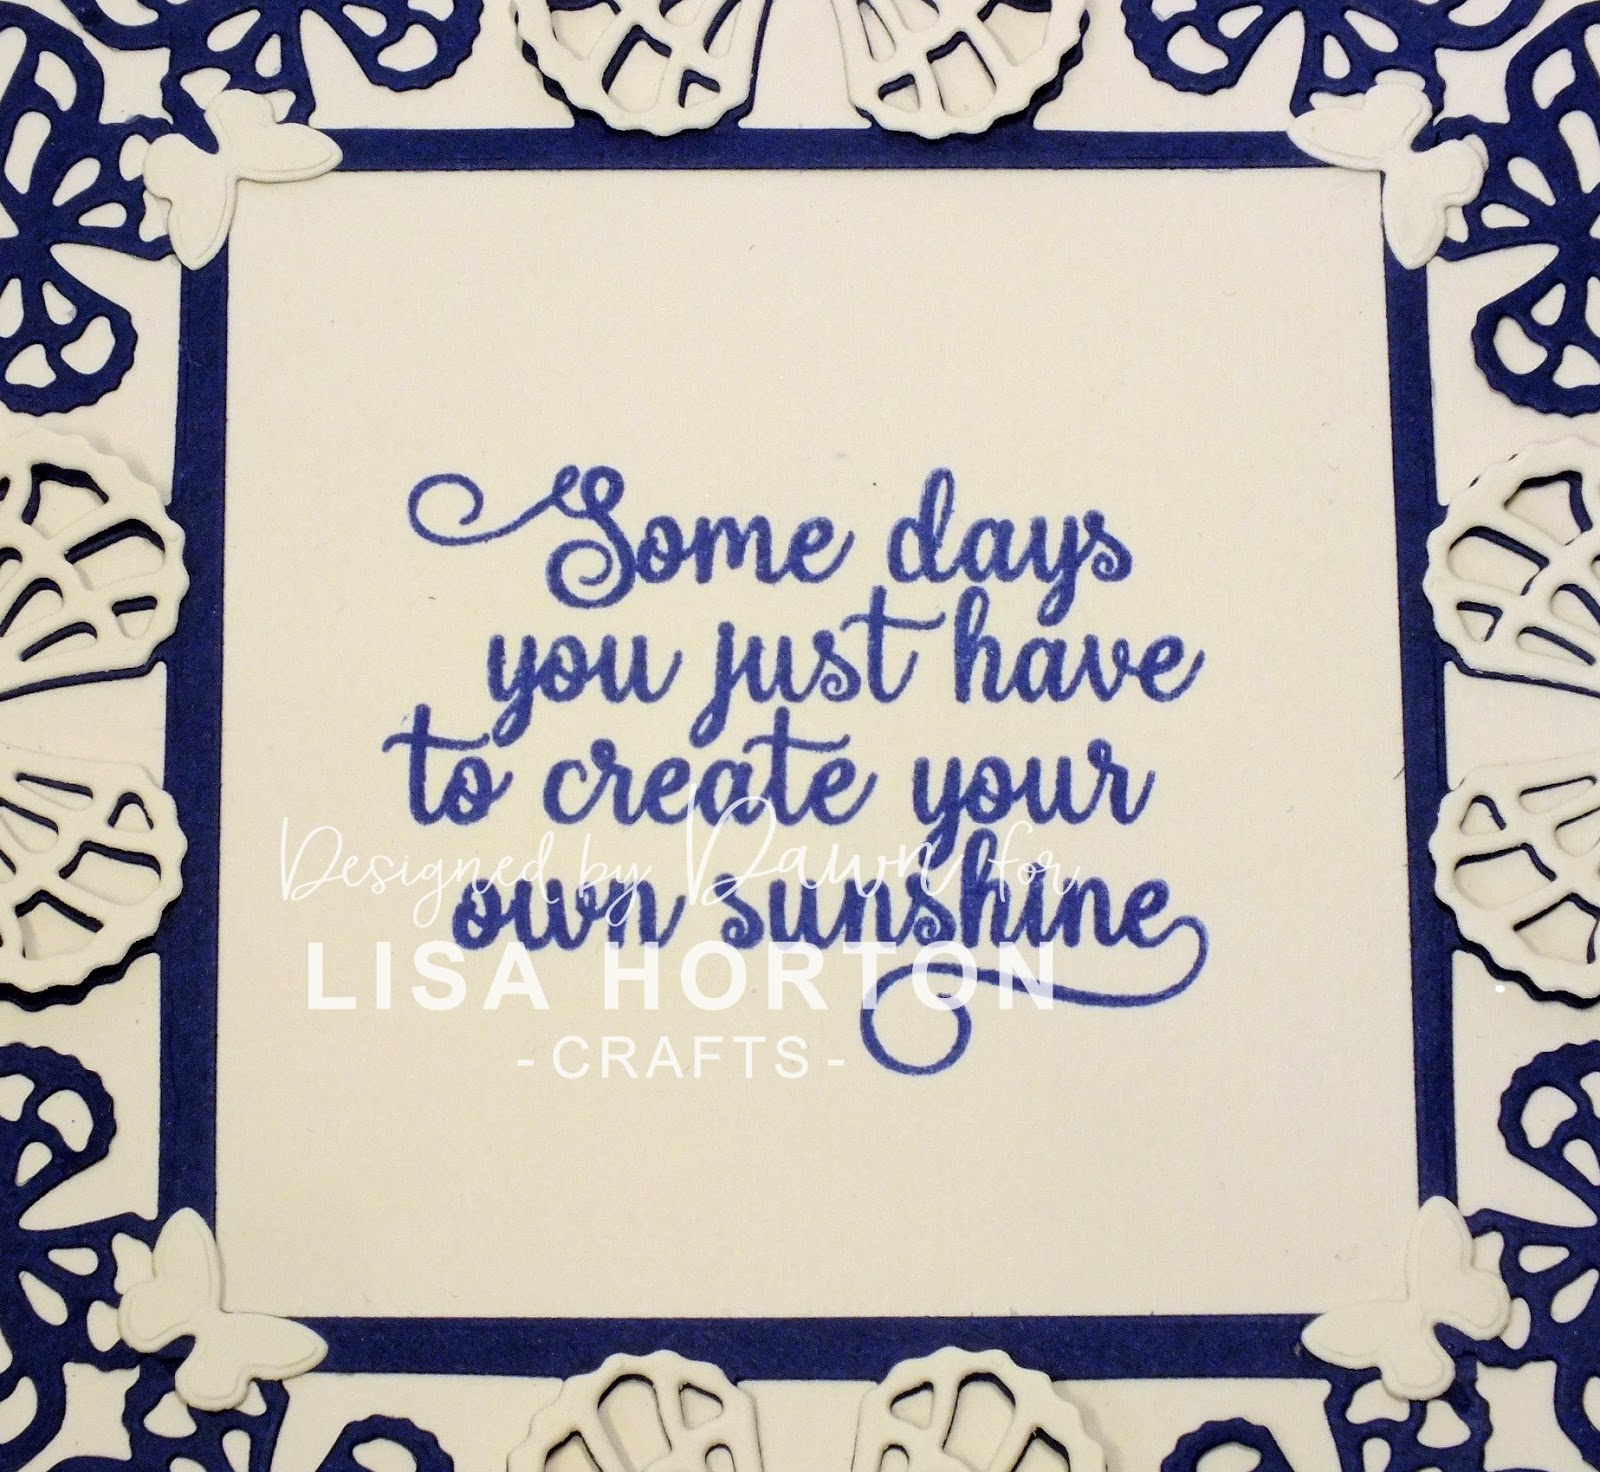
My card features the fabulous Daisy Burst Stamps and Die set as well as the Butterfly flourish stamps and die set.

In order to make this card I firstly masked off a section so that I could stamp my Daisy Burst stamps in two colour ways, Wilted Violet and Storm Grey Distress Oxide inks and using two sizes of the stamps.  Then once the ink was dry I masked off the part where I had stamped and made a narrow band either side of my stamping and added Wilted Violet and then moved my masking to make a second band to add Storm Grey on the outside of the Wilted Violet.

Next I masked off the whole section of stamping and stamped the Daisy Burst large stamp on either side of the first lot of stamping, again using Storm Grey.

Now, I don't know about you but sometimes when I am stamping I have a tendency to get ink where it shouldn't be or my stamping isn't as good as it could be!  So, what to do?
Well, this is where the butterflies come in.
Now I could tell you that I planned the placement of the sentiment and the butterflies but that would be a big fat fib! Lol
No, the nested flag die has been added where my stamping didn't quite work properly and I added the Smile sentiment which comes with the Butterfly Flourish Stamp set and added three of Lisa's fabulous shimmery pearls in the bottom left corner for a bit of detail.

The other butterflies are also covering little mishaps, even the little teeny weeny one in the top left hand corner.

So, when you have little happy accidents, because us crafters don' make mistakes lol, you can always just add a butterfly!

So there you go then, a quick masked butterly and daisy card.

Remember to tune in next Wednesday 25th March at 10:15 to see not only the stamps and dies I have used here but also some fabulous new goodies too.

You will now be catching our Design Team sneek peaks of the new products if you are a member of our facebook group Crafting with Lisa Horton
If you are not already a member then please just click the Join button, answer the questions (nothing heavy honest) and then you're in.
Hope to see you there.
We also have a monthly challenge running too, so why not join in with that once you have joined?
There are also Lisa Horton Crafts boards on Pinterest and some of the DT have You Tube channels with demos on too.  So plenty of options to see what others have done with Lisa's fabulous products.

Right, best get on.
TTFN

Wednesday 18 March 2020

Using Edge Cutz Dies as a frame.

Hi all
Dawn here, just popping in to show you how I used my Butterfly edgecutz die to create a frame on a card. (You can find this on Lisa's shop website here).

Lisa's dies cut beautifully and this one is no exception.
I cut the die four times in navy blue card and then cut the single large butterfly four times in cream card.
I always think cream and navy go together so well don't you?


So the four navy die cuts were trimmed and joined together to make a square frame.
Then I added the four individual butterfly die cuts on top of the navy and used a bit of Pinflair glue to give them a bit of dimension.
So because I wanted this to make a frame I cut off the little butterfly on the end of the die and used the straight edge as the main part of my frame.


Now obviously when you join four pieces of card together this way there is going to be an obvious joint.  In order to cover that up I used the tiny butterfly and die cut four to add to each corner.

Then I used one of Lisa's gorgeous Let's Be Happy stamps which are also available on the shop website here.  This is a gorgeous set of stamps with some beautiful quotes, so useful for so many different occasions.

To finish off I used Chipped Sapphire Distress Ink and brushed each corner of the card.  Now the only thing I would say is be careful what card you use.  This had a grain on it, not much but enough to spoil the brushed ink effect. (Well for me anyway). 

So I hope you like the card.  It just goes to show that you don't need to be afraid of cutting into the dies and using just certain parts of them.  The same can be said for any of Lisa's dies really.  They work so beautifully either way.

Remember we have boards on Pinterest - just search Lisa Horton Crafts and you should get plenty of hits.  We also have our wonderful facebook group - Crafting with Lisa Horton, where we have introduced our monthly challenge.  Different theme each month chosen by one of the Design Team and the prize will be something that Design Team member has made just for our winner.  Trust me when I say that this month's prize, made by the wonderful Erin, is GAWJUSS Darling!!

Lisa will be back on your telebox on March 25th on Create and Craft with some more brilliant designs.  You won't want to miss it.

TTFN
xxx