Saturday 30 May 2020

Crystal butterfly

Welcome to my May blog. Well this year is going very fast. I hope you are well.


 I decided for this month I was going add a bit of sparkle and stick to kraft card and white. I am happy with the results. I hope you like it.


First of all stencil different sized circles with The Lisa Horton Circle stencil on to a 6" square kraft card blank. I used distress ink as the white is quite chalky. Add accents and faux stitching with a white pen.


Stamp and emboss the majestic butterfly  on to heat resistant acetate using archival white ink and Lisa Hortons white embossing powder.


Cut out then hold bent fully in half. If you warm with the heat gun for a few seconds the wings will stay in shape.


Using the texture stamp in your hands randomly stamp into the circles again using the archival ink as its brighter. Add the white mermaid tails to your butterfly where you desire. Glue butterfly onto the card.


Finally add white AB Pearl's from set 2 and your chosen sentiments. I like the just saying papers for this.

I hope you enjoyed my card. Keep safe and well and I look forward to posting in June.

Take care 

Heidi xxx


Friday 29 May 2020

Sunshine Tag

Sunflower Tag by Jane Robinson


Hey there!
Welcome back to our blog.
I’m Jane, and have recently joined the Design Team for Lisa Horton, and I’m here today to hopefully inspire you to try this project or something similar. Give it a go, then post in our group, and perhaps tag me with your amazing creation.
This quick and easy project will have you exploring your creativity in no time. Most of the products I used are from Lisa Horton Crafts, and can be found here


I started off by looking in my stash for a tag like base. I came across
some oval shaped card. I suddenly remembered; I’d saved these after buying some new socks. I’d bought some of those little trainer socks from Primark, and the socks were displayed over them. I kept them thinking they would come in useful someday.
Well… someday arrived, and I quickly dug out my stencils, acrylic paints, and other crafty goodies.

First step:
I laid a base coat of white gesso, even though the tags were originally white, they had a shiny surface. I need any medium I use to adhere well, so gesso is definitely the way to go, as it provides a primed base which will take anything your crafty hands will throw at it.
I used my heat tool, on the number one setting to dry.

Step two:
I used Lisa’s ‘Pennies In A Line’ stencil and Decoart Marigold Acrylic paint to create the background. The paint was applied sparingly, using a make-up sponge.

Third step:
I mixed some of Lisa’s Sunshine Mica Pigment Powder with some gritty structure paste, and a drop of ink refill in a summery yellow colour. Then pushed that through LHC ‘Spring Bloom’ stencil.

Step four:
Make a brew while the structure paste dries :D

Step five:
I used a finger dauber to colour the centre of the blooms with a dark brown shade of ink, used the same colour to stamp the script using LHC ‘Textures’ stamp set, and also ink up the edges for a distress look.

Sixth step:
I cut apart one of the white sentiment strips from LHC ‘Wordage Sheets’, coloured it with the same acrylic paint, and adhered using 3D silicone glue.

I finished it off with a brown cord tie.

Thanks for taking a peek today, be kind to each other.
Jane xoxo


Thursday 28 May 2020

Butterfly Memories

Hi there, Miriam with you today.  I can't believe how quickly May has gone.  

I am sharing with you one of the mini book cases that I decorated for Lisa's show on May 7th.  It was an amazing show.


I painted my book case and created a crackle effect.


I stamped over the book case using Textures stamp - this is my new 'go to' stamp set.  It is just so versatile and adds the smallest of detail to my projects - I love it!


I also used the fabulous Stamperia moulds which, once dry. were painted black and gilded using the Stamperia wax.


I simply love all of this texture on the book case.  It makes my heart skip a beat!


Next, I started to create my books.  I wanted them to be for memories and sketches.  


I used the wonderful Butterfly stamps which can be found here, here and here.


I chose to colour the butterflies using grey scale polychromo pencils.


I used the Wordage sheets for the quotes on each of the books.  I really can't get enough of these.  They are amazing.


So, there you have it.  My mini book case and books.  I totally loved using this and there are so many possibilities.  

You can see more detail in a short YouTube video here.

Thank you so much for joining me today.  I hope to see you over on the Facebook group - Crafting With Lisa Horton.

Happy Crafting!
Miriam


Tuesday 26 May 2020

Tic Tok

Hey Everyone its Erin here and i wanted to show you what ive done with the new 
amazing Mandala stamps 
These stamps are sooo extremely versatile and they can used for anything 
I have for you today a little tutorial on how to make a clock 


 Using a blank greyboard , i covered it with embossing powders , using white and gold colours for a richer feel 
 I then used the Embossing powders by slowly building the Mandala up to give an ornate feel 


Glossy Accents in between colours to give it that high shine 


Adding a clock and a beautiful sentiment from the ticker set's and we have a lovely clock 

Links you need to know 


Monday 25 May 2020

Rustic Round Storage Box


Hello and thank you for joining me for my first ever blog post.


Today I am going to show you how I made this gorgeous round Rustic Round Storage Box. 


You may have seen one I made for Lisa’s show back in April. Well I loved it so much I thought I would make another!


I started by using a black marker pen on the tabs as I found last time when I painted them that they can cause the tabs to expand a little so it just makes it easier when it comes to assemble at the end.


I then painted it all in black Gesso.


There are 8 sides to the box so I decided to use Lisa’s Wood Grain Stamp and also her CrackleStamp on these. I did 4 of each and embossed them with a brown embossing powder followed by some gilding wax to add to the texture.

I also embossed the top and bottom of the box with the Crackle Stamp… it looks so effective!
Next I took some substrates and gave them a thin coat of black gesso too.


I wanted to give the effect of mini doors and the Hinges and Locks work beautifully for this.
To get the rusty effect, I first used some Cosmic Shimmer Strata Paste. If you have never used this before, it gives a rough, gritty feel to it. 


I then used some Cosmic Shimmer paint in a Teal colour and sparingly coated some of the area where I had put the Strata Paste. 


Once dried, I then used some ArtDeco Transparent Yellow Iron Oxide and painted over some of the Teal paint.


Finally topped off with a coat of Quinacridone Gold and the rust effect starts to come together.   


I added some Brads to the Hinges and a drop of Alcohol ink to tone down the colour as they looked a bit bright. It gives such a gorgeous effect!

For the other 4 sides I wanted to add Some of Lisa’s Wings and Cogs, I followed the steps above for the Cogs too.


For one set of wings I used some glue to stick down some micro beads, these are great to add texture to projects.


For the other set of wings I used some Cosmic Shimmer Lava Paste. This is great stuff!! I used a thin layer and heated it to get the bubbly effect.


Once done I made a thin mix of White Spirit and Brown oil based paint to paint them. The Lava Paste soaked up the mix wonderfully and gives a great look.


I had some Skeleton leaves in my stash, I distressed them a touch with Ground Espresso distress ink. They are very delicate so you need to be very gentle with them. I placed these behind the Wings with some of Lisa’s Pink Sisal which I sprayed with brown Distress ink first and added the cogs. 


I do love my Gilding Waxes so generally go over it here and there until I feel I have the look I am after. I also added a few little keys from my stash too.


Once done, I was able to assemble the box together and I added a little metal knob on top.


I just loved doing this project!! I hope you have enjoyed this blog and I hope I have given you some inspiration to make your own Round Storage Box... 


Thank you for stopping by. 


Much Love Nicky xx


Thursday 21 May 2020

Tina's mad about flowers


Hi everyone, thank you for joining me for my latest blog post. 
You may have noticed that I really love to make 3d flower boxes.  They can look so different depending on the flower shapes you choose and the endless possibilities with colour variations. They fold flat for posting and are guaranteed to bring a smile to the recipient!

This particular flower box was featured in the last issue of Die Cutting Essentials (issue 64). If you didn't see it, here are my instructions on constructing the box and the flowers using Lisa's lovely products.


 To make the flower box, take a sheet of 300gsm card - this will make sure your box is nice and sturdy. Place the card in landscape position and score from top to bottom at 7cm, 14cm, 21cm and 28cm. Next, turn the card to portrait position, and with the narrow score line at the top, score down the middle of the card at 10.5cm, but stop on the last score line. This will ensure the back of the box stays in the upright position. Now cut along the 7,14,21 and 28cm score lines to the middle score line only. Cut off the narrow section to the central score line on the same side as your cuts. Leave the other side of the narrow section in place, as this will form the tab to connect your box together. 

Next you can fold along your score lines to form your flower box. Use red liner tape on your tab as it’s nice and strong, then attach it to the inside of the back of the box. Cut 3 pieces of card 8.5cm x 2.5cm to make the tabs to hold the flower stems in place.  Score and fold at 1cm on each end, add red liner tape to these ends and place at equal distances across the middle of the box opening. 
TIP Each time you stick a tab in, fold your box flat one way and then the other way to achieve a nice flat fit. 
To decorate the box flaps I've used Lisa Horton's Nested Flags die set. The base flag has been cut from American Crafts card and the smaller has been cut from Lisa Horton's beautiful Capri papers. I've used Cosmic Shimmer glue throughout this project. 
Next cut a selection of flowers in various colours. You can use one flower or several to form layers and add depth to your project as I have. The flowers have been cut from Lisa Horton's Daisy Burst Edgecutz die set. Stick the layers together using foam pads to add further dimension. The flower centre circles are actually the waste from Lisa Horton's In the Loop Edgecutz dies. 

Make the stems with your 300gsm card - cut strips of just under 1cm (I added some green paper, but you could colour them if you wish). Attach the flowers to the stems with glue. 
TIP Place your stem between two flowers to give a neat look front and back and place the stems one at a time in the desired position on the bars. 
TIP Make sure you fold the box flat each way to make sure the flowers don't stick out of the sides in the flat position.

I've added dimensional butterflies in different sizes from Lisa Horton's Butterfly Flourish Edgecutz dies and popped them in various positions on the box flaps. 
TIP I wound some thread around the 3 butterfly layers and stuck down the bottom butterfly only.  I've added a little finishing touch of sisal from Lisa Horton which just sits between the bars in the box.
Products Used:
Lisa Horton Crafts Edgecutz Collection In the Loop (Currently out of stock)
American Crafts Cardstock 216gsm
Smooth white Cardstock 300gsm
Cosmic Shimmer Glue
Red Liner Tape
Foam Pads
All of Lisa's products are available from 
Thanks for visiting today 
Tina x 

Wednesday 20 May 2020

Create Art

Hi guys, On Lisa's last show she had the most amazing MDF Bookcase with grey board spines and covers to make books for the inside, were you lucky to get some? you will love them if you did,

Here's what I did with mine,


As you can see they came with enough grey board to make 4 books, two with wider spines and two slightly less, also on the show was some of the fabulous Stamperia papers from the Roses and Laces collection, I had some in  my stash so I used them on my samples, using the papers to make some of my embellishments too,
I'll start off with the MDF bookcase, it is so easy to put together by simply gluing with a wet glue on the edges where they connect together, I added some of the papers both on the inside and outside too,


I used the papers for the outsides of the books as well,


This one I left fairly plain to show you don't have to over embellish them for them still to look awesome.


I also left this one plain inside with only the paper showing as you can finish off the insides a few different ways to add the signatures,


So as you can see on this one I have simply used some good thick card stock to fit in the spine section, I then simply wrapped some black cord around a few times to create a base for the signatures to be threaded through, you can use string, elastic, cord or twine as I have, the papers are cut to size and glued down on either side to finish it off,


For two of the books on the outside I again used the papers, making some tags and one of the strips of paper from the paper collection, cut down and distressed on the edges with my distress tool (scissors work too) and some distress ink, then I layered them up with some 3D foam pads and used one of the clocks from the papers on the book front too, this I again distressed, To finish off the front of my book I added the gorgeous MDF flower which also came with the main bookcase collection, simply colouring them with some of the fabulous Mica's Lisa sells,


Here is another of the decorated books again using some of the tags I created and also using some more MDF pieces that again came with the main collection, I again painted the paint brush with some of the Mica's sealing them with a little hair spray afterwards,


On the inside I created another card with twine wound around for the signatures /pages, I used some more of the black card stock for some and white water colour card for the other, 


I then used some more of the 
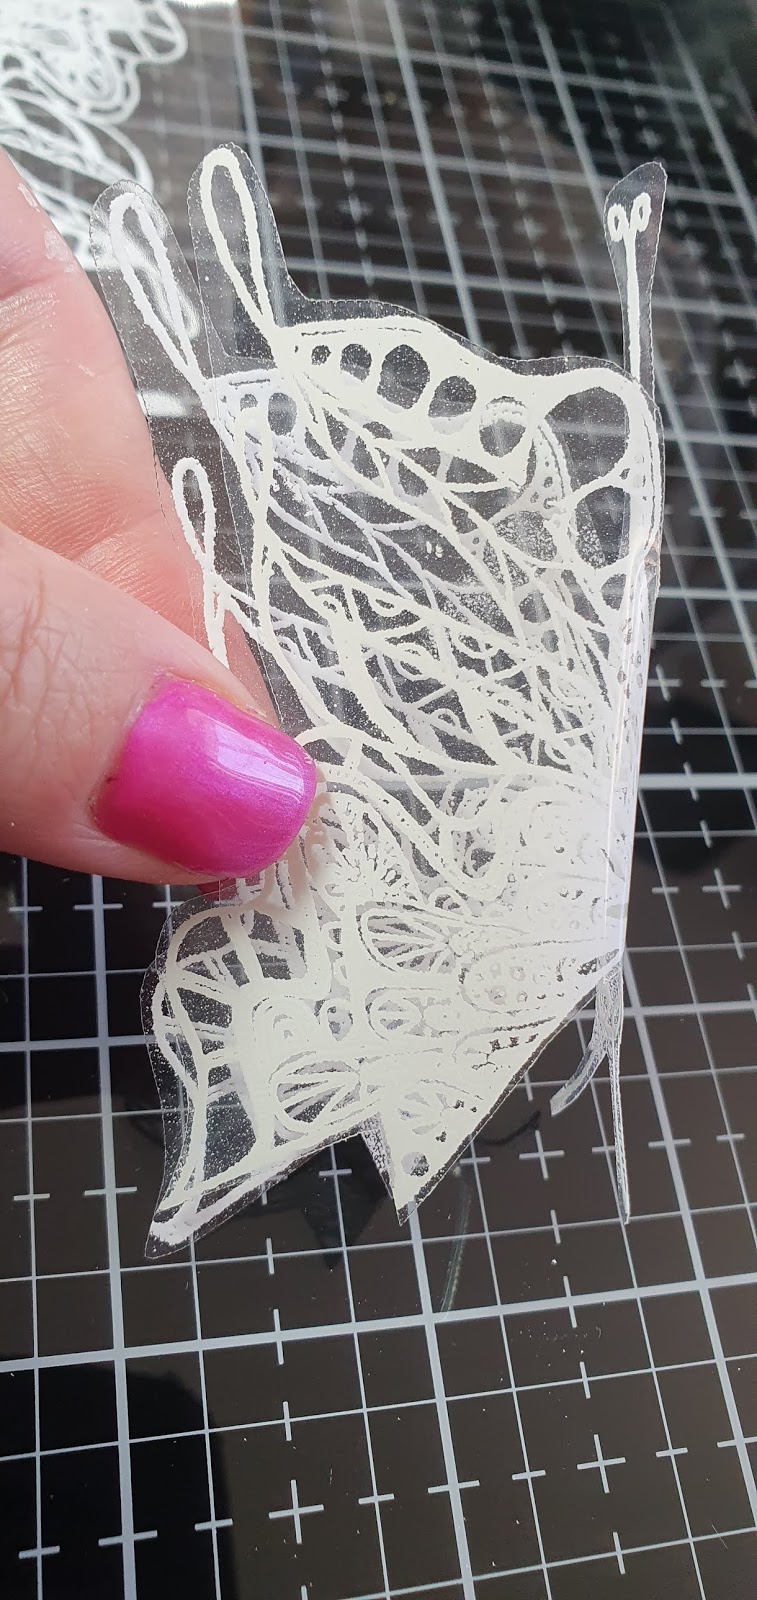
Mica's and some of the fabulous stamps to create some art on a couple of the pages,


To finish the Bookcase off I added the four metal feet which again came with the main bookcase collection on the show,


Just another view of the finished books and Bookcase, 

Well I do hope you managed to get some and you enjoy using your creativity to create your projects, don't forget we would love to see them, 
Lisa has a Facebook group were you can show anything you make with her products and there's even a set challenge every month too, check it out,


Also Lisa has a blog which you can check out here, with all the DT posts on with some amazing projects, 

Happy Crafting!!