Showing posts with label Nested Flags. Show all posts

Saturday, 18 April 2020

Just for you

Hello Sweet Crafty Friends!

Kendra here today to share a card with you!

I'm back again this Saturday with another lovely CAS card using another butterfly from the Majestic Butterflies stamp set:
These butterflies are just so beautiful!!  Unlike my bright and colorful card from last weekend, I just really wanted to create a simple elegant card!  So I decided to create a rectangle mask and inked up a rectangle on my white layer with pink distress ink.  I then stamped the pretty butterfly!!

I added some rhinestones to the butterfly to give it a little bling!

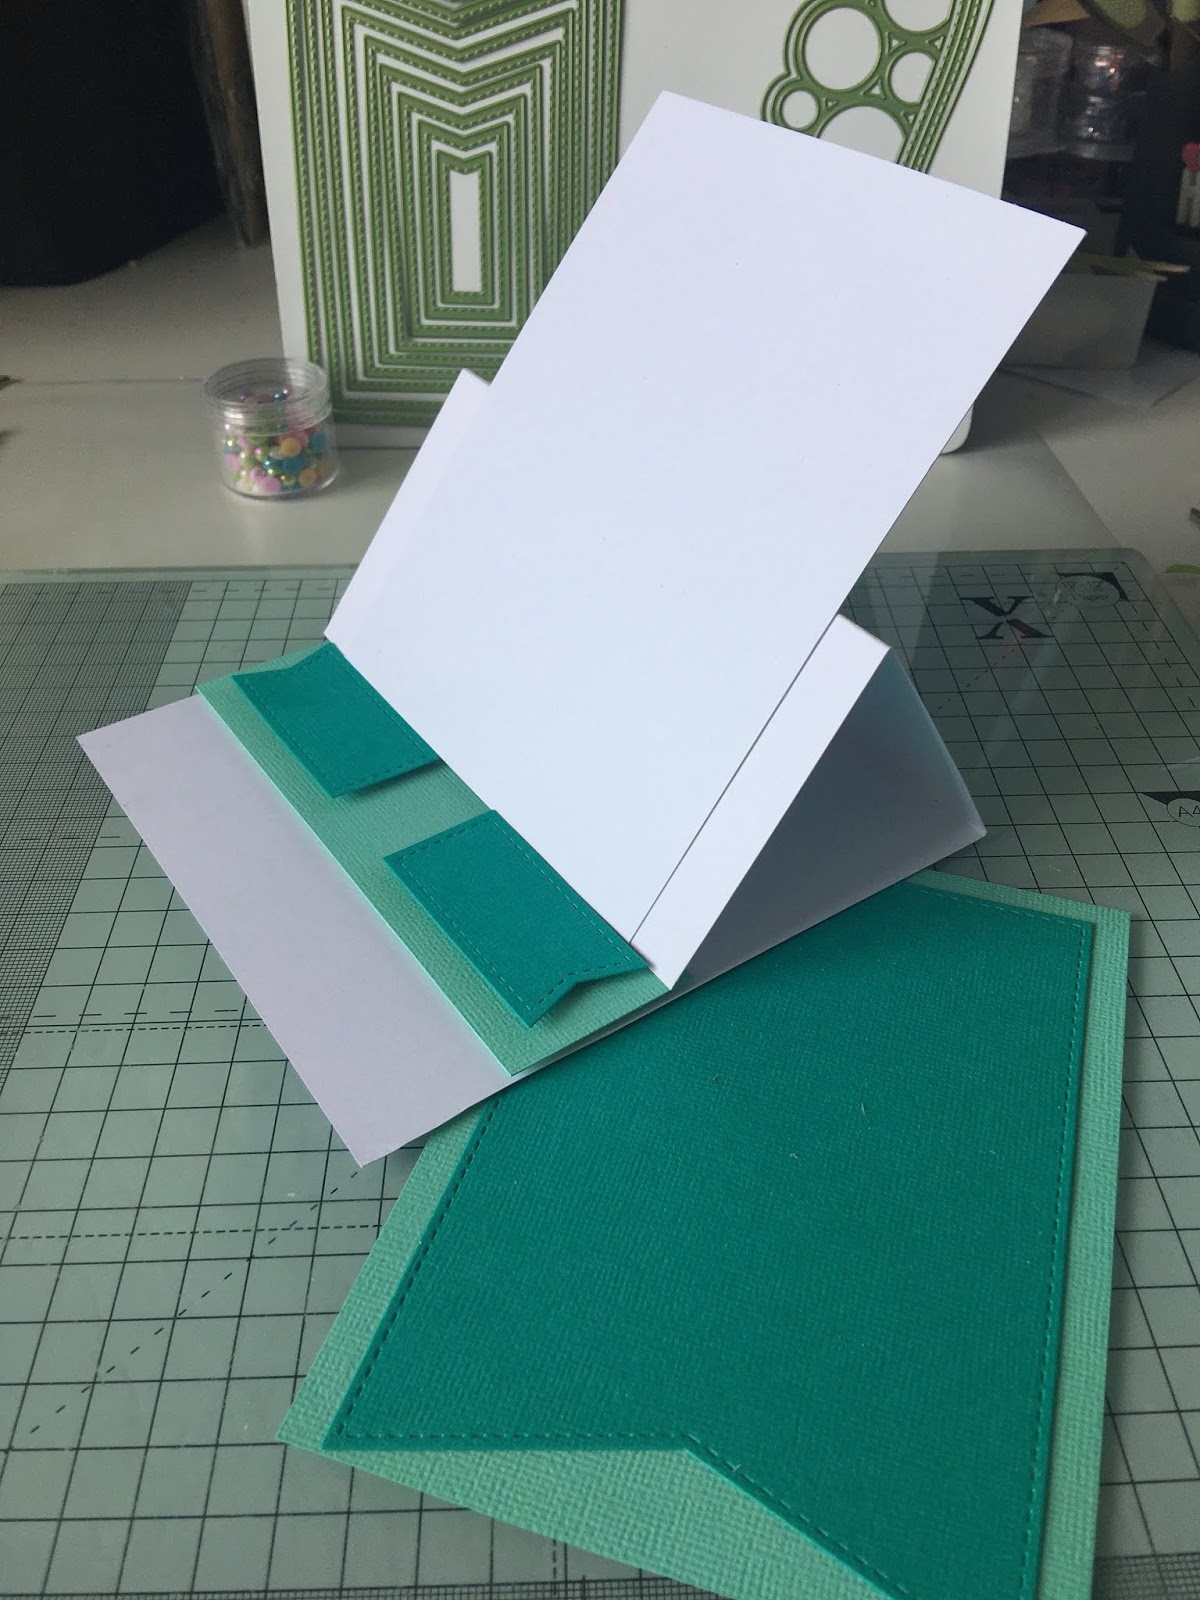
I die cut the tiniest flag from the Nested Flag Dies twice, once from pink cardstock and once from white.  Thought it would be fun to layer then off set.  I stamped the 'Just for you' sentiment on the white flag first before adding it to my card.  The sentiment is also from the Majestic Butterflies stamp set!!


Have a lovely day!  


Wednesday, 15 April 2020

Easel Card By Tina Foster


Hello everyone, its great to see you're taking a look at my latest blog. Hope you'll enjoy creating this one with me. For this project, I've put together a very simple easel card using the fab new products from Lisa Horton. Of course, by using the lovely banner dies you can create any message and personalise too, making it extra special for the recipient.


Tools 

Start by taking (or making) a card blank.  The blanks I'm using measure 15cm x 15cm.  I always use 300gsm cardstock for the base card to make it nice and sturdy. Score down the middle of one half and use a bone folder along the crease to give a nice fold.
Next use the nested flags die set to cut 3 flags in your darker main colour shade. Cut 1 of the largest flags and 2 of the second smallest. Cut the contrasting lighter shade backing a little wider than your large flag (11cm x15cm) and stick onto the back of the flag leaving a border at the sides and top edge only. Now take some more white base card (15cm x 12cm) and stick this to your easel making sure when you lay it flat its the same height as your card. Wait to stick your flag onto this as you'll want to pop the strings of your banner between these layers when you're ready.

For the easel stopper cut a piece of the lighter shade of your colours measuring  15cm x 4cm. Stick it onto your card with foam tape leaving a white space underneath it measuring about 3cm. Add your 2 small flags, again with foam tape.

Next die cut your flower layers, your swirls, leaves and banner letters for your message on the card.
Put your banner together using glue. I always put the string inside the two layers for a neat finish.

Curl the edges of your flower and leaf die cuts with scissors and layer up your flowers with foam tape to add dimension. 
Stick the flowers in your desired position On the card, leaving enough space for your banners. Add your banner(s) securing on the back with 3d foam and pop it on to the easel with an equal margin at each side.  Glue the flourishes to the small banners and use foam tape to secure the remaining flower to the middle of the stopper.

Use a corner rounder to soften the bottom corners, and use Lisa's beautiful new ab pearls for a touch of elegance. And to add a little love to the message, I decided to pop on a couple of little hearts from my stash.

I hope you found this project helpful, and that you enjoyed a little crafting therapy! Until next time, please take care and stay safe x
Tina x

Saturday, 11 April 2020

Self-Propelled Flowers

Hello Sweet Crafty Friends!

Kendra here today to share a card with you!

I am just so beyond excited to share this card....I love bright colors!!  Yellow is my absolute favorite!  But I also love butterflies!!  As well as flowers! This all of me put into a card:
I am so excited with how it turned out!!

I used the lovely Nested Flags Dies to create my card base along with a few of the layers:
All of Lisa's new butterfly stamps are absolutely amazing!!  The detail is beyond gorgeous!!  They remind me of images in adult coloring books and I love sitting down once in awhile and coloring in them!  This butterfly is the first one that caught my attention!!  It is from the Majestic Butterflies stamp set!!  The 'Butterflies are self-propelled flowers - R. H. Heinlein' sentiment also really caught my attention!  The sentiment is part of the Wings and Things stamp set!

I used yellow ink to ink the lovely Medieval Stencil behind my butterfly and banner.  The banner is part of the Nested Banners die set!

In the picture below you can also see that I stamped the Bubblewrap stamp in the bottom right corner with Versafine Ink and embossed with a pearl embossing powder!  I just really like the added touch!!
This picture also gives you a closer look at my gorgeous butterfly!!  I stamped this butterfly from the Majestic Butterflies stamp set three times!  so that I could fussy cut certain sections out to add dimension and added interest! 


Have a lovely day!  


Saturday, 21 March 2020

Just Because card


Hello everyone.

Sharing a card using Nested Flag and Four Point Blooms flowers and new background stamp and of course gorgeous new mermaid glitters coming soon.


For the card
Lisa Horton Nested Flag dies,
Ticker phrases sentiment stamps,
Four Point Blooms dies and stamps,
New Knotted Woodgrain stamp,
New Mermaid white glitter,
Memento inks,
Clear embossing powder.
Card from Papermilldirect.

Make an A6 size vertical card from craft card.
Cut the largest Banner flag in black card. 
Using a stamp platform stamp the Knotted Woodgrain stamp into white card using three different brown colours for ombre effect. Cut it out with flag die slightly smaller then black flag, Mat and layer with black flag and glue to the craft card with foam pads.
Stamp flowers with purple ink and die cut. Build the flowers and add tacky glue to the center with glitter. For leaves stamp with green ink using stamping platform and stamp again with Versa mark sticky ink and heat emboss with clear powder. Die cut and blend green ink to the leaves. Add the flowers and leaves to the flag. Stamp a sentiment and cut out leaving white border, add to the flag on the top right side.


Don't forget to join Crafting With Lisa Horton group on Facebook for sneak peaks and where you can share your cards too.
You can find some crafty goodies on That craft place shop.

Thank you for stopping by and leaving your comments.
Crafty hugs Natalia.

Monday, 9 March 2020

Tri Fold Screen Card


Hi there. It's Paul back here today with an idea for how to use your flag dies in a different way. I have cut three of the biggest flags in black and taped them together to make a screen shaped tri fold card. I then cut some designer paper from the next layer down from the digi kit 'From the Sea' by Nitwits. Then I printed a load of the images to go with it. I stamped the number die and Today in Spiced Marmalade Distress Oxide and used the co-ordinating dies to cut them out.

It's far easier if you see me do it so I have filmed a tutorial for YouTube. Search 'Tri Fold Card using Lisa Horton Flag Dies' on YouTube and it should come up!


Saturday, 7 March 2020

Beautiful Layout

Hello Sweet Crafty Friends!

Kendra here today to share a layout with you!

I thought it would be super fun to show you how Lisa's products are great for scrapbooking!!

I absolutely LOVE the new Mini Banner Alphabet die set!  It's a perfect die set to create your own sentiments, so in this case a title for my layout:
 I decided to create the word 'beautiful' to go along with the lovely photo of my daughter!

Close-up:
I also used the lovely In The Loop Die twice on this layout!  I thought it would add a nice accent to the page!  I kept some of the circles from the border, so that I could add them randomly back in the border and outside of it to add more interest!  I love the look!!  I also added a few rhinestones!!

I used the Nested Flags die set to create the light purple flags!  I love the size of these flags!  Perfect for scrapbooking!!

I also used the Nested Banners die set to create this grouping of three banners:
Which I then added some lovely die cut butterflies from the Butterfly Flourish Die Set!

I absolutely love how this layout turned out!!  So fun!!

Have a lovely day!  


Sunday, 23 February 2020

Nested Flag Card

Hello Sweet Crafty Friends!

Kendra here today to share a card with you!

I am so excited to share this project with you today using Lisa Horton Crafts products!

I am so excited for the fun new products!!

Here is a look at one of the first cards I made with some of the new products:
I love how it turned out!!

I used the new Nested Flags to create the fun shaped card base! Along with a few more layers!  The first layer was die cut from a piece of white cardstock!  I really liked the added white flag layer!  The next layer I die cut from a piece of new paper from the Bali Paper!! (I love the paper in this collection!!)  I cut another layer the same size from a piece of paper from the new Capri Paper, but trimmed some of the flag from the top and bottom, as I just waned half the piece, but still wanted the stitching on the side!  I put it on a purple matt.

Next I placed some fun Natural Sisal!! I have honestly never used this stuff and am now absolutely addicted to it!! It adds such a nice touch to projects!!  I love it!!  

Next, I added two Nested Banners, one from purple cardstock and one from a piece of Capri Paper!
I am in love with the new Mini Banner Alphabet set!  There are so many amazing possibilities with this die set!!  I could die cut sentiments all day!!  For this card I decided to add 'HI"!  I die cut the 'H' and 'I' from white cardstock and placed above silver glitter paper die cut banners.   I love that there is the added stitching on these tiny banners!! So cute!!

I die cut a few butterfly layers from the EdgeCutz Die - Butterfly Flourish set and added to the banners.

I finished the card off by adding s few flowers!  I used the new Four Point Blooms stamp set and coordinating Four Point Bloom Dies!  I stamped the flowers on vellum and embossed with a white embossing powder.  I then finished them off by adding some Mermaid Tails to the center!!

Have a lovely day!  

Be sure to tune into Create & Craft TV February 28th for a look at all the NEW products!!!