Hi there I'm Claire Newcombe (aka Creative Makings), and am so pleased to welcome you to Lisa Horton's Craft blog.
I have long been a fan of Lisa's designs and am excited to be on the design team and create the inspiration to help launch the amazing products that are on their way to you.
My passion is as a stamper first and foremost and love to create inky stamped collages, and then hopefully to provide you with the confidence to have a go yourself.
My first project is using Lisa's first stamp releases
- Lisa Horton Island Collection designer paper pad, Bali (coming soon)
Choose 3 or 4 colours ranging from light to dark that compliment each other. The aim when layering stamped images is to use the paler colours first, working towards the last (top) layer being your darkest and most prominent images.
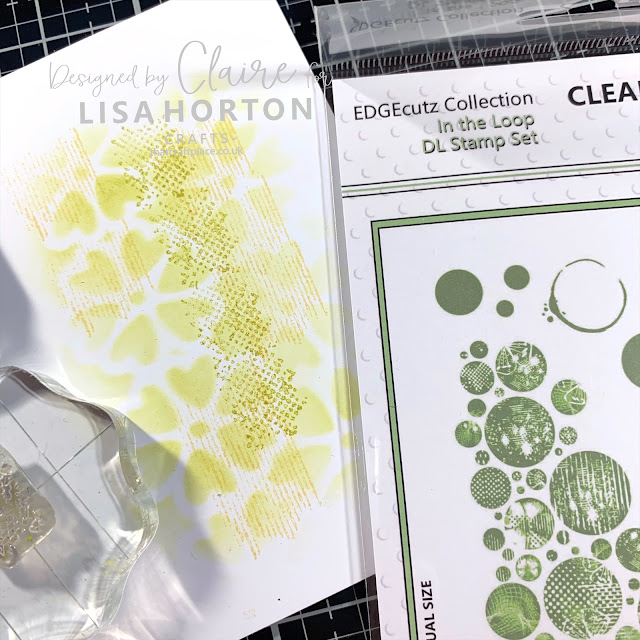
1. Create the backdrop by inking through a stencil with your lightest colour. I have used the floral stencil that was available exclusively in Lisa's first shows on the 20th January.
(Don't worry if you missed one, there will more exclusives to come LOL!)
2. Use the same ink. or a tonal one and stamp the small accent pattern stamps randomly over the stencilled backdrop.
3. Select a complimentary colour, and stamps that will add interest to the collage. in my example I have introduced a new shape along with the change in ink colour.
These techniques really allow you to make the most of the accessory stamps included in the set. Include the words also as a pattern building tool.
4. Stamp the main stamp image in your your statement colour. Here I have taken the largest circle stamp and stamped in bold blue over the layered background I've already created.
Remember that you don't always have to use the whole image. You can see I have masked off probably half the stamp with post it notes before inking, because it was too large to fit the project I was making.
5. Select and randomly stamp a couple of the larger accessory designs in your darkest ink colour. This adds to the layering and dimension.
Probably best not to over do this layer, because it could swamp the focal point and look cluttered.
It is of course depend entirely on the designs you are using, there is no hard and fast rule.
6. The final layer is usually the sentiment, and I like to stamp it in black. I like the crisp contrast against the design that really makes it stand out.
I also like to stamp the wording directly onto my project, and find a stamping platform invaluable, as it gives me the confidence that I won't ruin my work. You can of course stamp the wording onto a separate piece, then mat and layer onto your card. Again it's all about personal choice.
7. Finally, I chose one sheet of the Lisa's fantastic new designer paper pads, to mat and layer my work onto , and accent by die cutting a couple of the individual EDGEcutz butterflies.
Thank you so much for popping by today, I do hope I have taken some of the mystery out of layered stamping. If you do have a go, come over and share in our Facebook group (link below).
https://www.facebook.com/groups/468312444069507/?ref=bookmarks
Lisa's new products are exclusive to Create and Craft until the 4th February but then check Lisa Horton Crafts website for details of stockists:


This is wonderful Claire
ReplyDeleteGorgeous work. I really like the way you explain things xx
ReplyDelete