Showing posts with label Ticker Phrases. Show all posts

Saturday, 9 May 2020

Quick Hello

Hello Sweet Crafty Friends!

Kendra here today to share a card with you!

This card features the lovely Medieval Stencil!!  I just LOVE Lisa and Danny's amazing stencils!!
I was so excited to try out the Deco Foil Transfer Gel!   I used the gel over the Medieval Stencil, let it dry for awhile.  Then placed the lovely purple foil on top, ran it through my die-cutting machine to apply pressure and then gently peeled away the transfer sheet!  What a beautiful design!!  I love how this card turned out!!  The shimmer/shine is so pretty!!

I also added some lovely die cut flowers from the Four Point Blooms Die set!  I added some lovely Mermaid Tails to the center of each of the flowers!!  Before I added the flowers to my card I placed some Green Sisal and then added my flowers above it!!

The 'A Quick Hello' sentiment is from the Ticker Phrases stamp set!


Have a lovely day!  


Sunday, 5 April 2020

Beautiful Butterflies in the spotlight


Hi there, Claire Newcombe back with you and sharing a project I created for the most recent of Lisa's Create & Craft shows, aired on 3rd April.

I created this peach card using the newly launched butterfly's designed for Lisa by the wonderfully talented Anne Ruffles.

This particular butterfly is from the Wings & Things set, still available in a couple of bundles and still exclusive to C&C (link below)


Today on the blog I have created this blue card, in the same style and with a step by step walk through for you. I will also be going live on Facebook on Tuesday 7th April recreating this card in real time too, it will be great if you can join me.

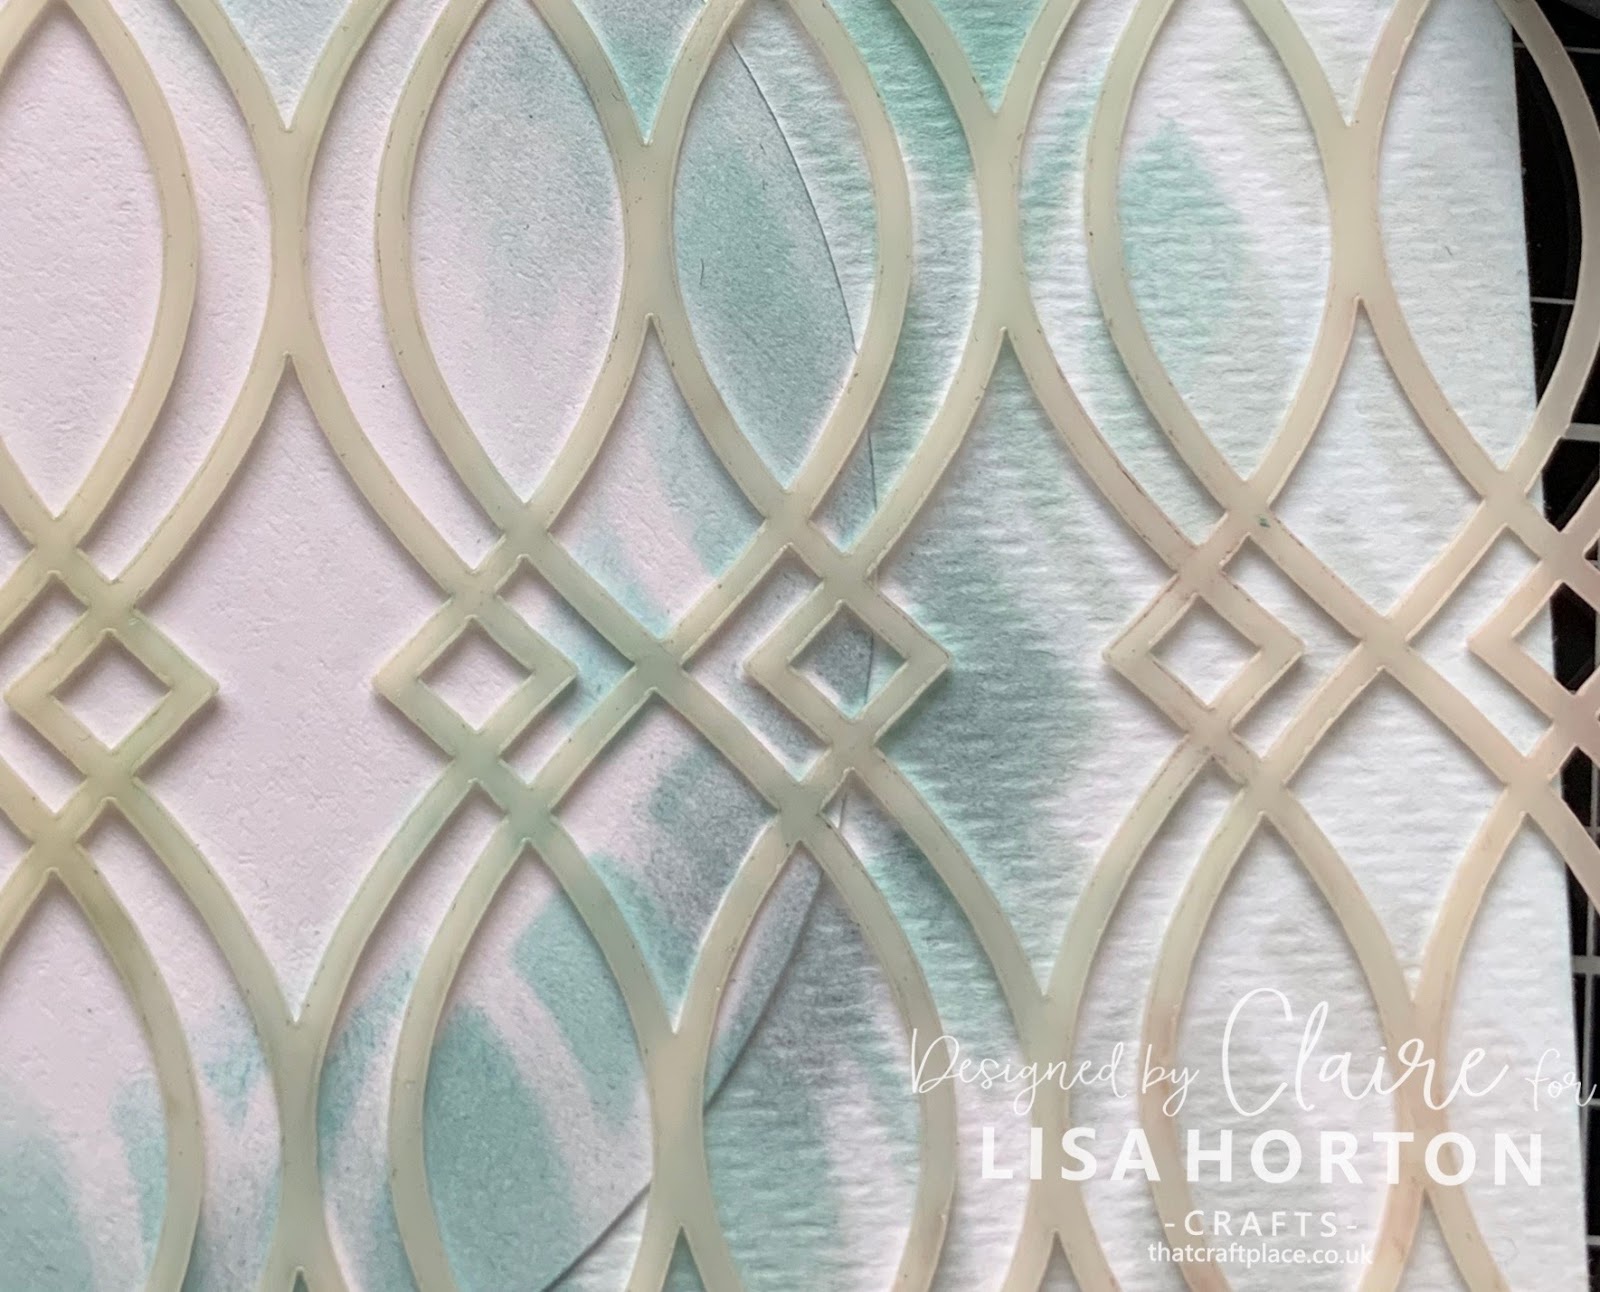
1. Wherever I can i like to work on Lisa's super smooth cardstock, not only is it great for stamping, it is fabulous to blend your inks on to also. To start I applied a small amount of light (tumbled glass) distress oxide through one of the newest stencils (Lisa's A5 stencil, Medieval design)


2. I cut a circle mask (3.5 inches wide) from copy paper, placed it on the project and then replaced the stencil over the top again. I made sure I pattern matched the stencil to the design already on the project. I tend to just hold the masks and stencils in place when I work, but you can of course use your preferred method to make them more secure before applying the ink.


3. As you can see from the photo below I now work a darker shade of ink ((broken china) round the outside edge of the circle and through the stencil.


4.Introduce another shade (iced spruce) to add some shadowing and continue building colour around the outside edge of the circle mask. When you remove the mask and stencil to reveal, you should have a highlighted circle. If you feel you need more depth of colour and shadow effect replace both mask and stencil and continue adding colour.


5. Use a fine liner pen to draw doodled lines around the outside edge of the project and also the highlighted circle. You now have a background ready to frame the main focal image of your project. I have chosen one of the butterflies from the beautiful 'Jewelled Buttlerfly' Collection, amd coloured it with alcohol markers. Ive added some sparkle with the new collection of mermaid tails, and stamped one of Lisa's Ticker tape sentiments.


Lisa Horton Crafts products,
A5 Medieval stencil
Jewelled Butterflies
Just Saying..Ticker phrases 


Thank you so much for stopping by, I hope this has made you smile today.
Remember we have a lovely Facebook group where we'd love for you to share all your makes with Lisa products, I'll pop the link just here


Take care of yourselves x

Monday, 27 January 2020

Texture Tag with Stencils and Greyboard Heart

Mixed Media MDF Tag by Nikki for Lisa Horton Crafts

Hi everyone, Nikki here with my first blog post! Today I am sharing an MDF tag I have altered using the Heart Flurry Stencil - one of the stencils Lisa has designed.

Mixed Media MDF Tag by Nikki for Lisa Horton Crafts

I started by adding texture paste through the stencils and then with my palette knife creating additional texture by scraping into the surface a little. Once dry I covered the entire tag with black gesso.

I then dry brushed with white gesso carefully highlighting only the raised surface. This is one of my favourite techniques allowing me to then add washes of coloured paint over the surface that are only visible on the white highlights... the black areas remaining black.

Mixed Media MDF Tag by Nikki for Lisa Horton Crafts

I used the same technique on the MDF hearts but this time the texture was created without the stencil.
I added a little pink sisal underneath.


Mixed Media MDF Tag by Nikki for Lisa Horton Crafts

Finally I stamped one of the greetings from the Ticker Phrases stamp set.

See you next month
Nikki 
xx

Friday, 17 January 2020

Tina Foster - Quick & Easy 3D Flowers Card

Quick & Easy 3D Flower card

This is how to create and attach 3D flowers to a card with an ink stencilled background. This is a really easy design to create that looks beautiful. The best part is the card can be folded flat for posting!

(1) First choose your card size. 
I have used a 6inch x 6inch card blank. I personally use 300gsm smooth white card stock as it has a bit more stability.

(2) Cut out a smaller circle on a spare piece of card. 
You will use this to stencil onto your card blank.


(3) Select a stencil design and start by placing the cut out circle on top of the card base. 
I have placed it in a central position, but you can always have it anywhere of your choosing. 
Make sure you tape the stencil down using low tac tape.

(4) Select your ink colours. 
In this instance I've used distress oxides in hickory smoke and mustard seed. 
When you are adding your colour make sure you are holding your stencil firmly.
As a tip, I use make up brushes to apply the ink as they don't leave any harsh lines for those who are a little more heavy handed. 
 
(5) Colour and cut out 6 of the large flowers from the Daisy Burst dies and score each flower down the middle.


(6) Fold each flower in half, lining up the petals to match. While they are still folded flatten each flower along the folded side with a bone folder for a nice crisp edge.


(7) Stick 2 of the half flowers (with each flowers folded side in the middle) with strong glue. 

(8) Take another half flower and glue to the left of the flower you just made. This will be your first 3d flower done.

(9) Repeat 7 and 8 as many times as you wish for as many flowers as you would like on the card. I have created two 3d flowers for this particular card. 

(10) Cut or draw some lines for each of your flower's stems. 
If you have cut stems out like I have, use your strong glue to attach them to the card blank.
(11) Using your strong glue, attach the 3d flowers to the card blank. 

(12) Stamp out the sentiment from the ticker tape phrases stamp. 
In this case I have added a tiny heart cut out. 

(13) To finish I added a self adhesive gem with a little sparkle to my cut out heart and inside my flowers to add that extra something. 


I hope you enjoyed making this project with me. 
Please feel free to post any of your work or comments below! 

Monday, 13 January 2020

Be Brave Canvas by Aly


Good morning, how are we all, how is January going for everyone I hope things have slowed down a bit after the Christmas and New Year rush!

Well today I have a quick written tutorial for you for the wonderful
Lisa Hortons Crafts of a canvas I have created.
The products for this can be seen in the show on Create and Craft on the 20th January at 1pm and 6pm with the lovely Lisa Horton herself.


Here I have created a beautiful canvas using the following products - 

  Mixed Media Board 5”x7”
Lisa Hortons EDGEcutz Collection – Butterfly Flourish
Lisa Hortons Background Stencil –
Lisa Hortons MDF Hearts
Lisa Hortons Paper Pack -  Bali
Lisa Hortons sisal
Lisa Hortons Mermaid Tails Glitter
Lisa Hortons Ticker Tape Stamp Set
A paper straw cut into 3 pieces
Pearlywinks Hot Pink Ink Spray for the background
Modelling Paste for the stencil


To make the project -

 Using a piece of mixed media paper using the stencil smooch some modelling paste through. When this is dry spritz with the Hot Pink Ink Spray

Cut a paper straw into 3 pieces and adhere to the canvas using a hot glue gun

 Scrunch up some of the pink coloured sisal and using a hot glue gun adhere it to the top of the straws

Using the Bali Paper Pad cover one of the mdf hearts and add one of the sentiments from the ticker tape stamp set

Adhere the heart onto the top of the sisal covered straws

Add 2 of the EDGEcutz butterflies onto the background

Then to finish randomly add some of the Mermaid Tails Glitter to the piece

I hope you enjoyed this and will give it a go

Hugs Aly xx