Hello everyone.
Sharing my first post for Lisa Horton Crafts.
On Monday Lisa will be showing her new products on Create and Craft at 1pm and 6pm.
On Monday Lisa will be showing her new products on Create and Craft at 1pm and 6pm.
Here is a tutorial of a simple Z fold card with beautiful daisy flowers and a fab stencil.
For Z fold card
Edgecutz Daisy Burst craft dies,
Be Happy Sentiments DL stamp set,
Nested Banner die set,
Tartan stencil,
Pearls,
Lavender colour ink.
Black ink,
White card,
Perfect pearls.
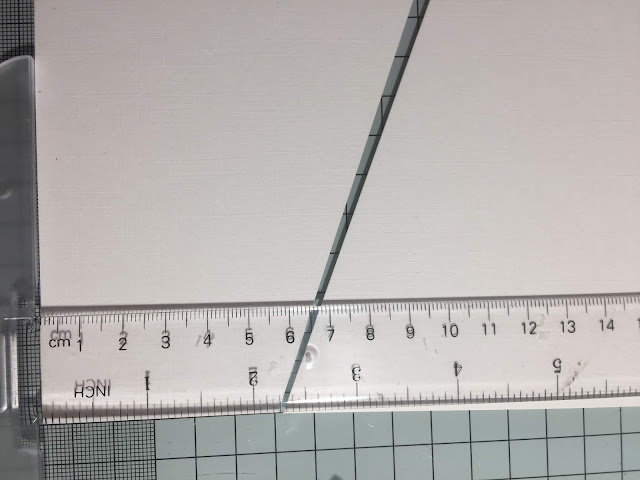
Use A4 white card. mark at 15 cm on one side and on the other side of the card and cut diagonally.
As you can see on the photos.
Fold the card twice to make a Z fold card as shown below. You can see some measurements on the photos.
Cut slightly smaller panels for the card as shown below in the photo for matting and layering.
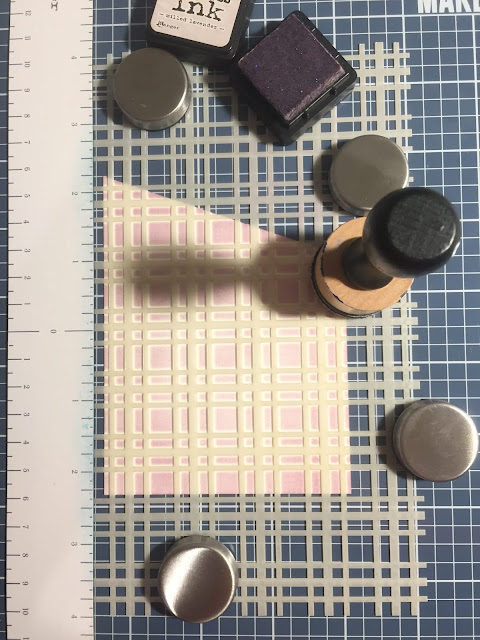
I blended lavender ink to the panels using Tartan stencil.
Add more ink around the edges
I added some sparkle to the card by mixing Perfect Pearls with water and added a splatter to the card panels and flowers.
You can use any sparkly paints or powders.
Cut daisy flowers and add some ink to the edges. Add some shape to the flowers by using some embossing tools or sometimes I use a pen to shape the petals.
I coloured medium size flowers with sparkly powder and added lavender ink to little flowers.
You will need to make nine flowers for this card. Add beautiful purple pearls to the centre of flowers from the pearl set. Add the finished daisies to the top edge of the card.
Stamp a sentiment and die cut the banner using Nested Banner die set, add lavender ink around the edges of banner. Add the sentiment to the front of the card.
I enjoyed making this card and using tartar stencil. This is my second project using this stencil and it will be also great for masculine cards and projects.
Dont't forget to watch Lisa on Create and craft on Monday 20th January.
Thank you for stopping by and leaving your comments.
Crafty hugs Natalia.


You already know how much I live this ...it's so pretty and delicate x
ReplyDeleteGorgeous card, so very pretty. Thanks for step by step - much appreciated. xx
ReplyDeleteWonderful card Natalia... Great step by step too
ReplyDeleteThis is a great tutorial and a gorgeous card xx
ReplyDelete